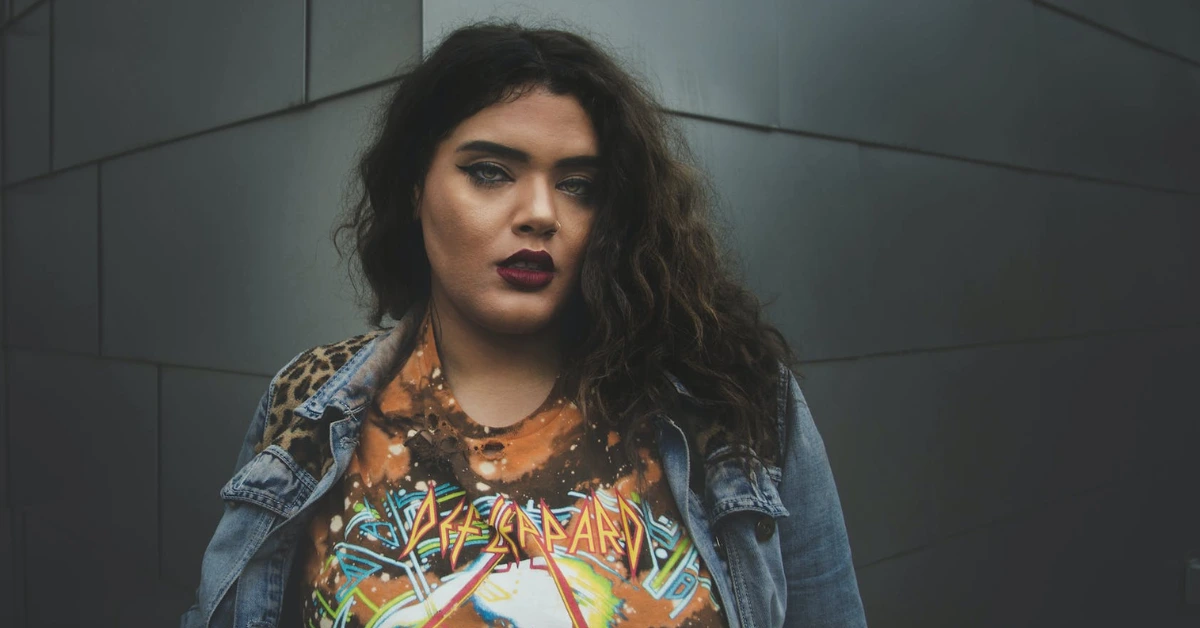
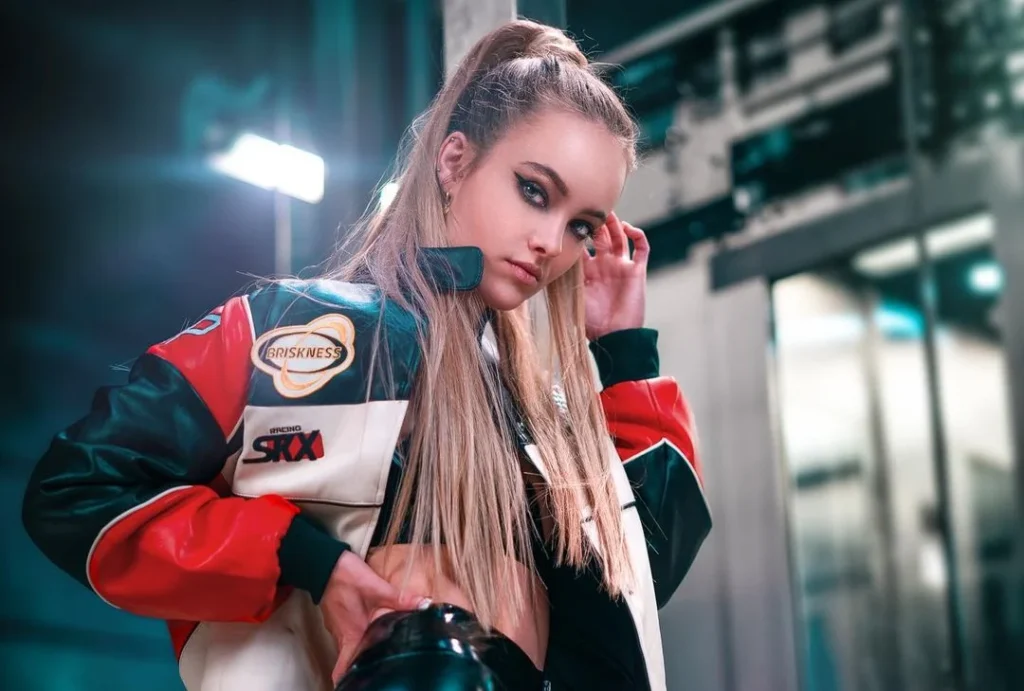
Urban portrait photography is cool. It has a unique vibe of capturing people in what seems to be a normal and familiar landscape. Urban portrait photography is becoming increasingly popular, and it’s easy to see why. It’s a great way to capture the energy and diversity of city life while highlighting the individuality of your subject.
Whether you’re a seasoned photographer or just starting out, urban portrait photography is a great way to capture the energy and diversity of city life. So, let’s get right into it! It’s time for our tips to make your photos look amazing.
1. The Key to Urban Portrait Photography
Okay, let’s start with the obvious: to shoot the best photos, you need to understand what Urban Portrait Photography is about.
As the name says, Urban Portrait Photography is the combination of Portrait Photography and Urban Photography.
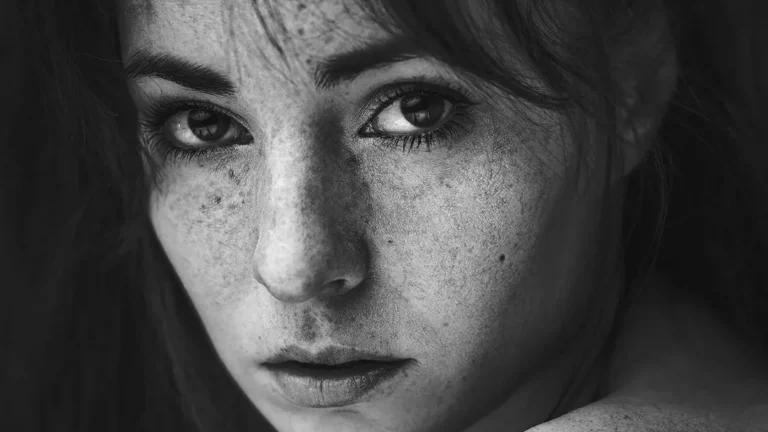
Portrait Photography is quite easily explained. It’s just pictures of people. They focus on capturing a person’s face and emotions. In portrait photography, the person is the main subject, and their expressions, personality, and character are highlighted. Make sure to check out our Guide for Portrait Photography!
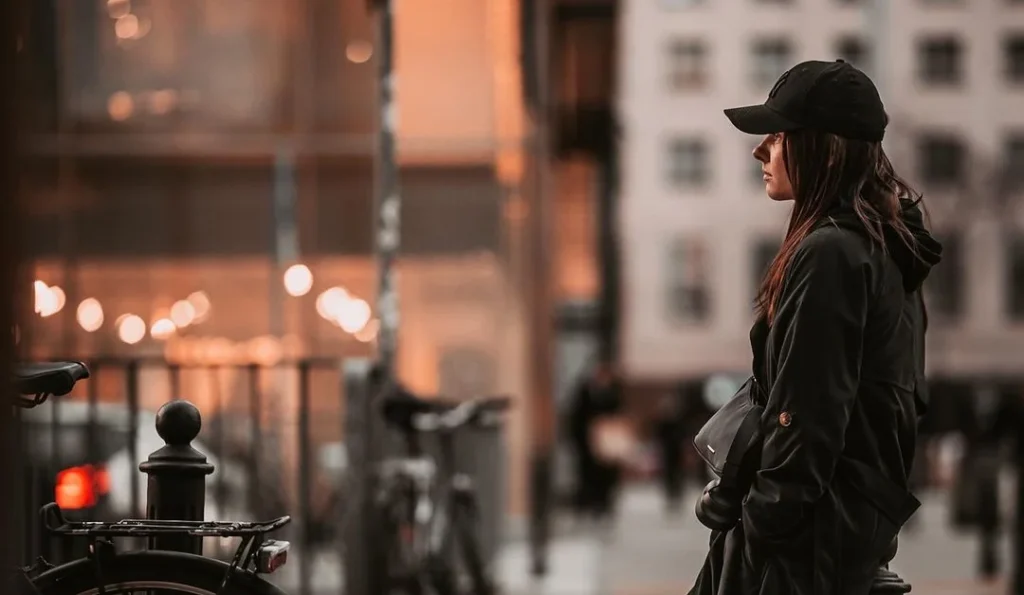
Meanwhile, in Urban Photography, you want to take pictures of the city itself. They show streets, buildings, signs, and everything that makes up the city. Urban photos help set the scene and create a background for the portrait.
If you combine these two, you have to shoot a nice portrait while also capturing the cool, fast-paced atmosphere of the city. We know, sounds quite simple! But there are a few more things you should keep in mind!
2. The Art of Composition
When it comes to urban portrait photography, composition is key. The way you frame your subject and surroundings can make or break a shot. In this section, we’ll explore some composition techniques that can help you take your urban portraits to the next level.
Balance and Contrast
Balance and contrast are two important elements of composition that can help create a visually appealing image. Balance refers to the distribution of visual weight in an image, while contrast refers to the difference between light and dark areas.
To create balance in your urban portraits, try to distribute the visual elements evenly throughout the frame. For example, if your subject is positioned on the left side of the frame, you can balance the image by including some visual elements on the right side.
Contrast, on the other hand, can be used to draw attention to your subject. You can create contrast by placing your subject against a contrasting background or using light and shadow to create depth.
Using Leading Lines
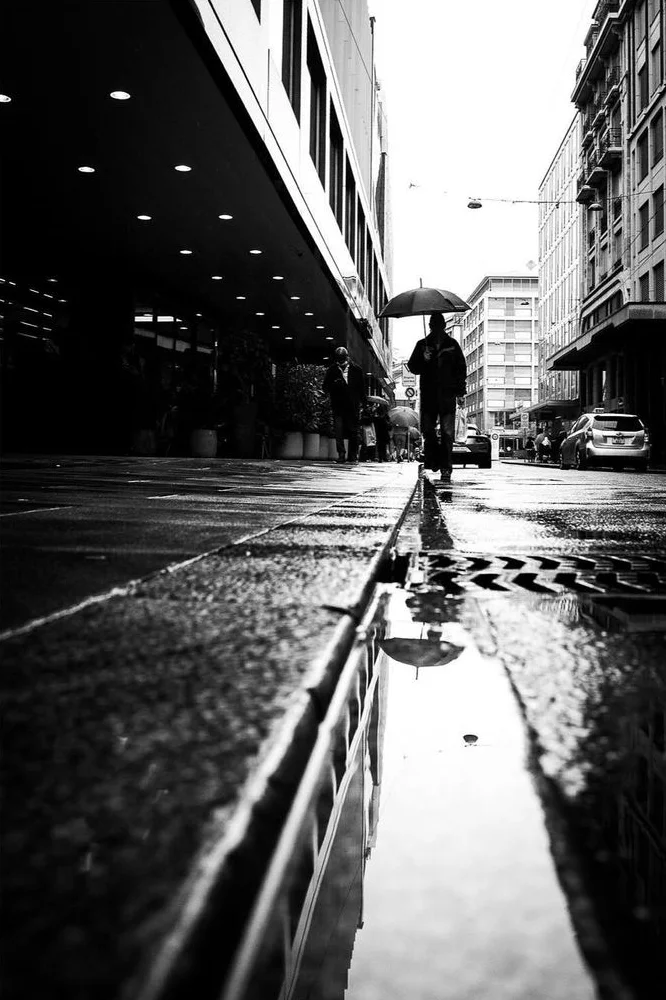
Leading lines are lines that draw the viewer’s eye towards the subject of the image. They can be used to create depth, guide the viewer’s gaze, and add visual interest to your urban portraits.
In urban environments, there are plenty of opportunities to use leading lines. You can use the lines of buildings, streets, and other architectural elements to create a sense of depth and perspective.
When using leading lines, it’s important to consider the direction of the lines and how they interact with your subject. Look here for more information on how to use them!
Textures and Patterns
Textures and patterns can add visual interest and depth to your urban portraits. They can be found in the environment around you, from the texture of a brick wall to the pattern of a sidewalk.
To use textures and patterns effectively, try to find ways to incorporate them into your composition. For example, you can use the texture of a wall as a backdrop for your subject or use the pattern of a street to create a sense of movement in the image.
Textures and patterns can also be used to create contrast and balance in your urban portraits. For example, you can use a textured background to balance a smooth, untextured subject or use a patterned foreground to create contrast with a plain background.
3. Choosing the Right Gear
Your gear is your best friend, right? For Portrait Photography, this is especially true. Choosing the right gear is crucial to capturing stunning shots as you rely on sharp, well-lighted photos. So here are our thoughts on what your equipment should look like.
Prime Lenses vs. Zoom Lenses
One of the first decisions you’ll need to make when selecting gear for your urban portrait photography is whether to use a prime lens or a zoom lens. Prime lenses have a fixed focal length, meaning they don’t zoom in or out. On the other hand, Zoom lenses offer a range of focal lengths, allowing you to zoom in and out.
Prime lenses are great for capturing portraits because they typically have a wider aperture, which creates a shallow depth of field, resulting in a blurred background and a sharp subject. They also tend to be sharper and faster than zoom lenses. However, they require you to physically move closer or further away from your subject to adjust the composition.
Zoom lenses are more versatile and allow you to quickly adjust your composition without having to move physically. They’re great for capturing a variety of shots, but they tend to have a smaller maximum aperture, resulting in a deeper depth of field and less bokeh.
Light Modifiers and Flash
As always – lighting can make or break your picture. Light modifiers, such as softboxes, diffusers, and reflectors, can help you control the light and create the mood you’re looking for. However, who has those when doing a spontaneous shooting in the city? In that case, a flash can also be useful for adding light to your scene, especially when shooting in low-light conditions.
When selecting light modifiers, consider the size of your subject and the location of your shoot. A larger modifier will create a softer light, while a smaller modifier will create a more focused light. Reflectors can also be used to bounce light back onto your subject, creating a more even and flattering light.
Tripods and Long Exposures
Finally, consider using a tripod for your urban portrait photography, especially when shooting in low light conditions or when using a slower shutter speed. A tripod can help you keep your camera steady, resulting in sharper images.
Long exposures can also be a useful technique for capturing urban portraits. By using a slower shutter speed, you can create a sense of motion in your images, such as capturing the movement of people or cars in the background. However, using a slower shutter speed requires a steady hand or a tripod to avoid camera shake.
In summary, selecting the right gear is essential for creating stunning urban portraits. Consider using a prime lens for a shallow depth of field, light modifiers and a flash for controlling the light, and a tripod for steady shots and long exposures.
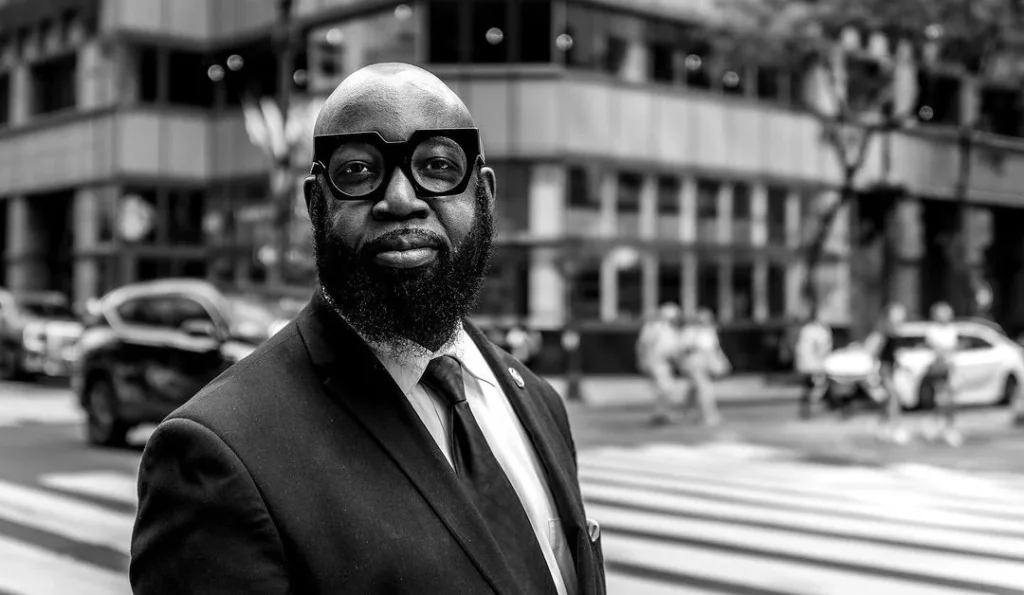
4. Scouting Urban Locations
Make sure you know the right places when doing your shooting. After all, you don’t want to spend your time aimlessly wandering through the city and wasting your and your model’s time! You want to find a spot that complements your subject and adds an interesting and dynamic element to your photos. In this section, we’ll explore some tips for scouting urban locations.
Using Google Maps and Street View
One of the best tools for location scouting is Google Maps and Street View. You can use these tools to explore different urban environments and get a sense of what they look like before you even set foot outside. This can save you time and energy and help you plan your shoot more efficiently.
When using Google Maps and Street View, look for areas with interesting architecture, urban landscapes, and cityscapes. Pay attention to the details of the buildings, such as the texture of the walls, the shape of the windows, and the color of the doors. These details can add depth and character to your photos.
Considering Architecture and Urban Landscapes
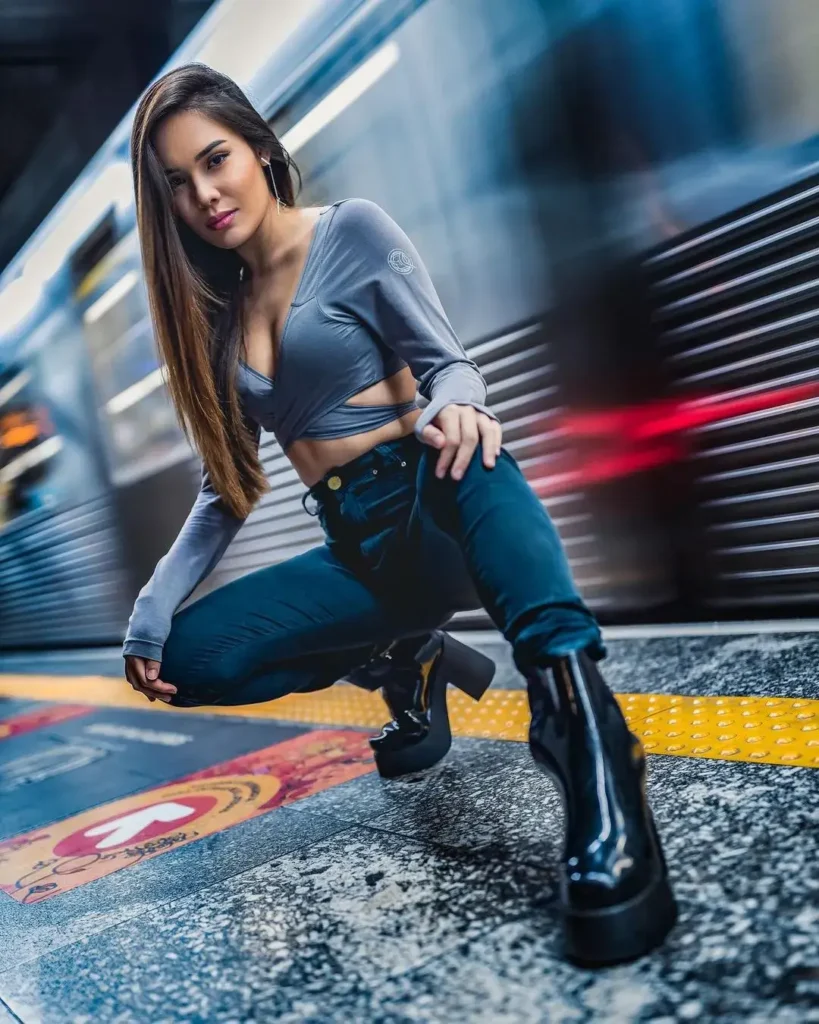
Architecture and urban landscapes are some of the most important elements to consider when scouting for urban portrait photography locations. Look for buildings with unique shapes and designs, such as skyscrapers, bridges, and monuments. These can create a dramatic and eye-catching backdrop for your subject.
In addition to architecture, pay attention to the surrounding urban landscapes. Look for areas with interesting textures, such as brick walls, graffiti-covered alleys, and steel shutters. These can add a gritty and urban feel to your photos.
When scouting for locations, keep in mind the time of day and lighting conditions. Look for areas with natural light sources, such as open windows or skylights. Consider the direction and intensity of the light, as this can affect the mood and tone of your photos.
By using Google Maps and Street View and considering architecture and urban landscapes, you can find the perfect location for your urban portrait photography. Remember to keep an open mind and be creative in your approach. With a little bit of planning and preparation, you can capture stunning and dynamic photos in any urban environment.
5. Working with Light
When it comes to urban portrait photography, working with light is one of the most important aspects to consider. Should you use natural light? How can you play with reflections? No worries, we got you covered:
Natural and Ambient Light
Natural light is an excellent source of illumination for urban portraits. It can create a soft and flattering effect on your subject, especially during the golden hour – the hour after sunrise or before sunset. During this time, the light is warmer and softer, which can add a beautiful glow to your portraits.
However, natural light can also be challenging to work with, especially during dusk or low-light conditions. In these situations, you may need to use artificial light sources, such as street lamps or building lights, to illuminate your subject. You can also use reflectors or diffusers to manipulate the light and create a more flattering effect.
Ambient light is another important factor to consider when working with urban portraits. It refers to the natural light that is present in a scene, such as the light from a street lamp or a neon sign. Ambient light can add depth and dimension to your portraits and create interesting shadows and highlights.
Reflections and Windows
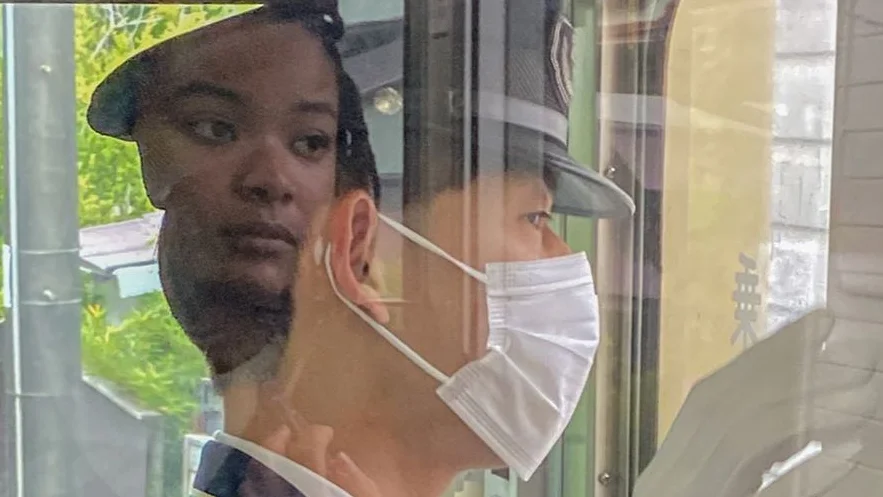
Reflections and windows can be powerful tools for creating unique and interesting urban portraits. Reflections can add visual interest to your image and can also be used to conceal unwanted elements in the background. For example, you can use a puddle or a mirror to create a reflection of your subject, which can add depth and dimension to the image.
Windows can also be used to create interesting portraits. You can use the reflections in the window to create a double exposure effect or use the window as a frame for your subject. Additionally, you can use the window as a source of light, which can create a soft and diffused effect on your subject.
6. Capturing the Urban Portrait
Capturing an urban portrait can be a rewarding and challenging experience. The dynamic environment of the city provides a great backdrop for photographing people. So, let’s dive into some tips and techniques for capturing amazing urban portraits.
Working with Models
When photographing people in an urban environment, it is important to work with models who are comfortable in front of the camera. You can find models through social media or by reaching out to local modeling agencies. When working with models, it is important to communicate your vision for the shoot and make sure everyone is on the same page.
Street Portraits
Street portraits are urban portraits that capture a person’s essence in their natural environment. These portraits are often candid and spontaneous, and they can be a great way to capture the energy of the city. When taking street portraits, it is important to be respectful of people’s privacy and personal space.
Capturing Movement
Movement is an important element in urban portrait photography. It can add a dynamic and energetic feel to your images. You can use continuous shooting mode on your camera or experiment with slow shutter speeds to capture movement. Be sure to keep your camera steady or use a tripod to avoid blurry images.
In summary, capturing an urban portrait requires working with models, taking street portraits, and capturing movement. With these tips and techniques, you can create amazing images that capture the energy and essence of the city.
7. Post-Processing for Urban Portrait Photography
Once you’ve taken your urban portraits, it’s time to enhance them with post-processing. Of course, shooting is the most essential part of your photography; however, some Post-Processing can always make your photography even better!
Adjust Contrast
Urban portrait photography often involves capturing subjects against a busy, chaotic background. One way to make your subject stand out is to adjust the contrast. Increasing the contrast can help your subject pop while decreasing it can create a more muted, moody look.
Use Bokeh to Your Advantage
Bokeh refers to the blurred, out-of-focus area in a photo. It can be used to create a sense of depth and separation between your subject and the background. When post-processing your urban portraits, consider enhancing the bokeh by selectively blurring certain areas of the image.
Balance Your Colors
Achieving a balanced color palette is key to creating a cohesive, visually pleasing image. When post-processing your urban portraits, pay attention to the colors in the image and adjust them as necessary. Use tools like the HSL panel in Lightroom to fine-tune the hue, saturation, and luminance of specific colors.
Remember, post-processing is a tool to enhance your images, not to alter them completely. Use these techniques to bring out the best in your urban portraits while staying true to your creative vision.
If those tips helped your understanding of Urban Portrait Photography, make sure to check out our other Social Media channels, like Pinterest, to find more inspiration for your photography!
Frequently Asked Questions
What are some tips for capturing the essence of a city in urban portrait photography?
Begin by scouting different locations. Look for areas that have unique architecture, street art, or interesting backgrounds. Experiment with different angles and compositions to create a sense of depth and dimension.
How can you use natural light to enhance urban portrait photography?
Look for areas with interesting light patterns, such as alleys or streets with tall buildings that create shadows. You can also use reflectors or diffusers to control the light and create a softer, more even look.
What are some unique locations to shoot urban portrait photography?
Look for interesting architectural areas, such as old buildings or bridges. You can also try shooting in parks or other green spaces to create a contrast between nature and the urban environment.
How can you incorporate the urban environment into your portraits?
Consider using the environment as a prop. For example, fire escapes or staircases are interesting framing devices. You can also try shooting through windows or other reflective surfaces to create a sense of depth and layering.

