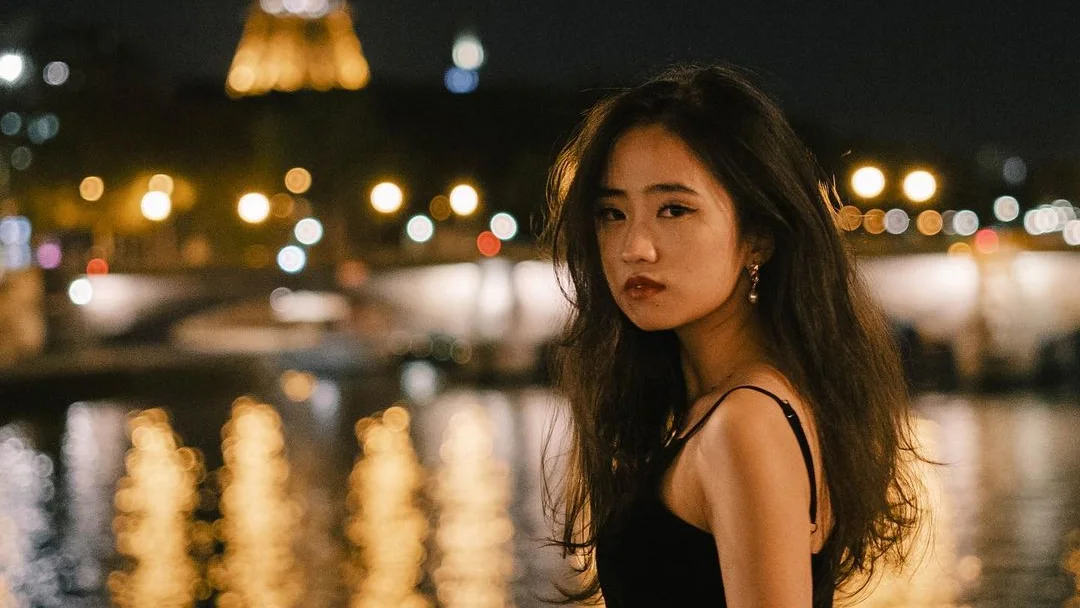
Night portrait photography might seem like a daunting task at first glance. Capturing images in low light conditions is a difficult task, especially for beginner photographers. But fear not! We’re here to guide you through the process, and with a bit of practice, you’ll be amazed by your progress and results. Night portrait photography can make for some amazing photos that will really elevate your portrait portfolio.
The Key to Night Portrait Photography
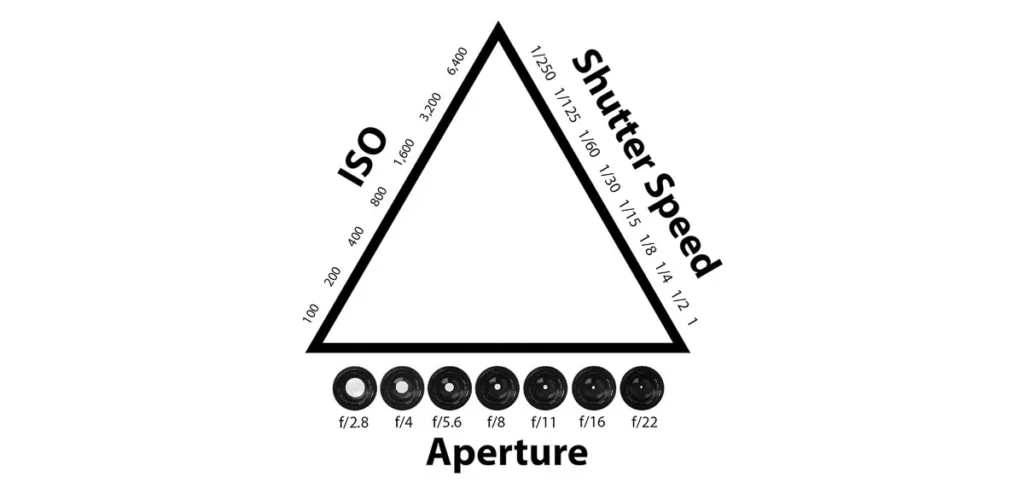
As passionate photographers, we love the challenge of taking captivating night portrait photography that showcases our subjects in a whole new light, quite literally! It requires mastering low-light photography techniques and having a good understanding of the exposure triangle, which consists of ISO, shutter speed, and aperture.
To get started with night photography, we first need to dial in the best camera settings.
ISO Settings
It is recommended to increase your ISO in order to capture more light without using a flash. However, we should also be careful not to push it too high, as this may result in noise in the final image.
Aperture Settings
The wider your aperture, the more light gets into the camera. We learned that an aperture between f/1.4 and f/2.8 works best for night portraits, as these allow more light to enter the camera while still maintaining a shallow depth of field.
Shutter Speed
Shutter speed is crucial in night portrait photography, as slower speeds will let in more light, but they can also cause image blur due to camera shake or subject movement. To avoid this, we can use a tripod to stabilize the camera and ask our subjects to stay as still as possible.
Lighting Options
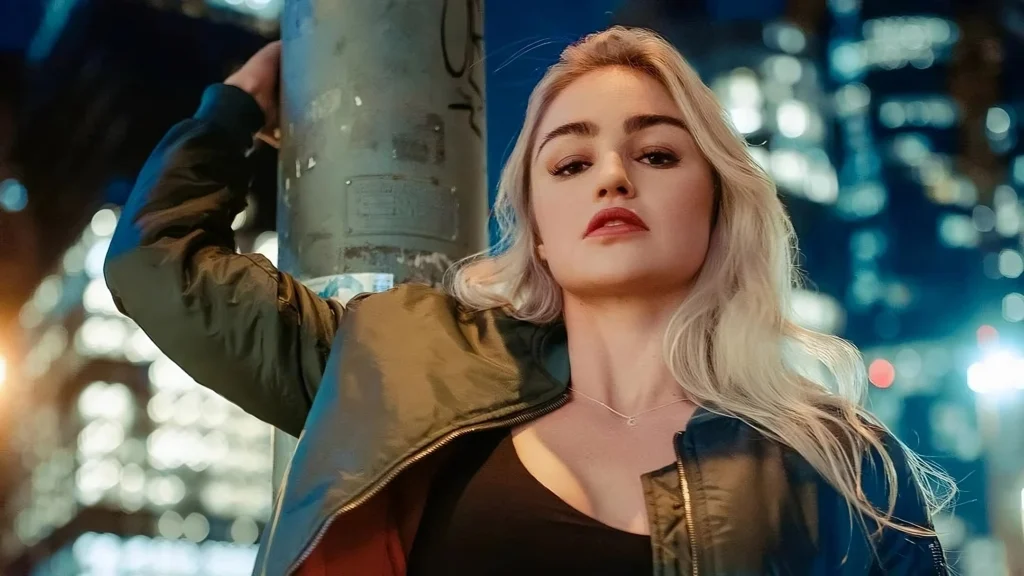
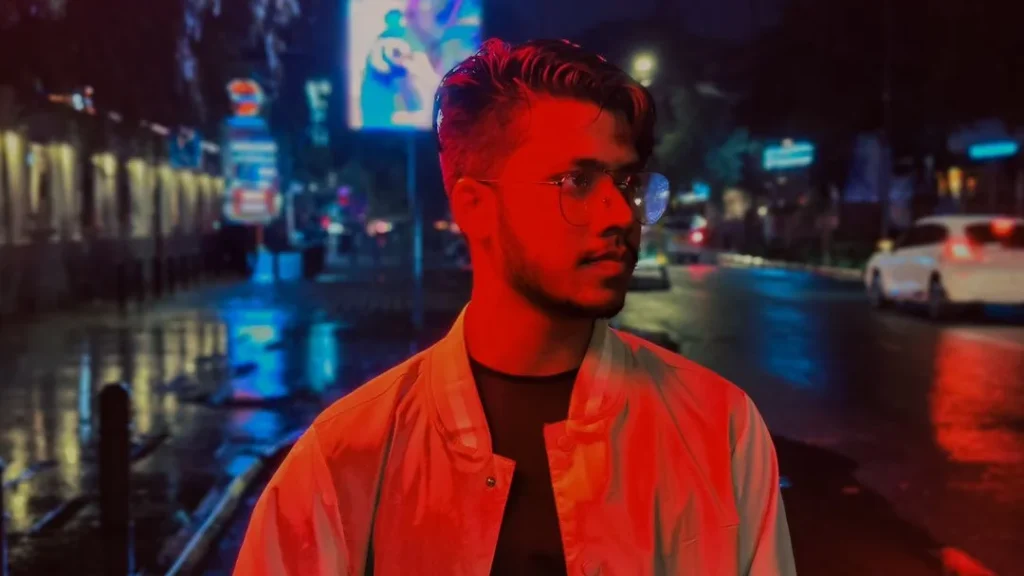
Also, we should consider the lighting options. While we don’t have “natural” light during the nighttime, we can still take advantage of it by placing our subjects near sources of ambient light, like streetlights or store windows. However, incorporating artificial light sources such as battery-operated lights, off-camera flashes, or even using a reflector to bounce light onto the subject can greatly enhance the overall quality and mood of the portrait. Therefore the location is also vastly important when planning your shoot. We recommend an urban setting for some additional light sources; have a look at our guide for urban portrait photography!
Using Manual Focus
In low-light situations, autofocus may struggle to lock onto the subject. That’s why we suggest switching to manual focus for night portrait photography. By using manual focus, you have complete control over the focus point, ensuring sharp and accurate focus on your subject, even in challenging light conditions.
Camera Modes
For capturing night portrait photography, we recommend using manual mode (M) or aperture priority mode (AV). Manual mode gives you full control over your camera settings, allowing you to make precise adjustments for the perfect exposure. Aperture priority mode lets you choose the aperture while the camera automatically adjusts the shutter speed to achieve the desired exposure. Either mode will provide you with more versatility and control when shooting in low-light situations.
Equipment for Night Portrait Photography
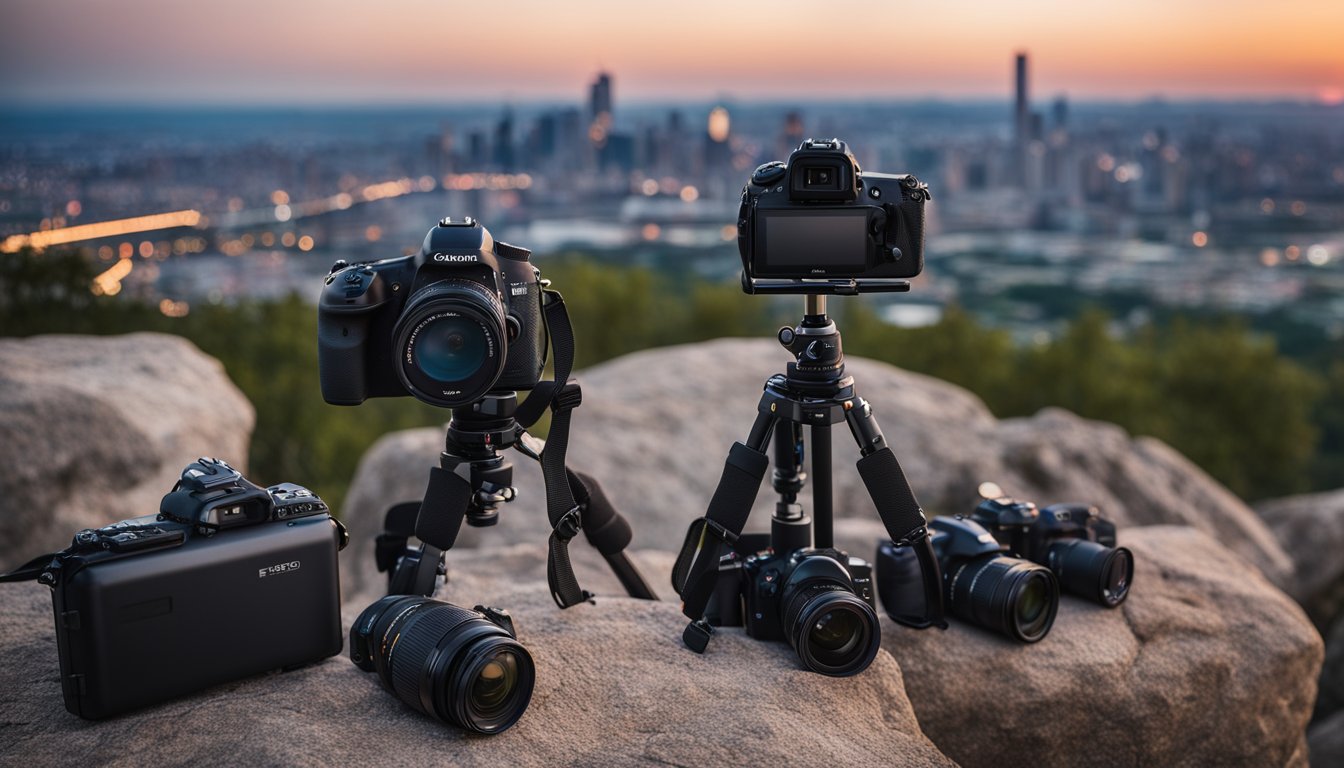
Now that we laid the technical ground rules, let’s have a look at the equipment we need for our night portrait photography.
Choosing the Right Camera
For night portrait photography, selecting a camera that performs well in low light is crucial. Ideally, you should look for models with less noise at higher ISO levels and sensitive sensors. These factors will help your camera perform better in difficult lighting situations.
Lens Selection for Night Portraits
For capturing stunning night portraits, the lens you choose is equally important. A fast prime lens with a wide aperture (e.g., f/1.8 or f/1.4) will allow more light into the camera, resulting in better image quality in low light.
Role of Tripods in Night Portraits
Using a tripod is essential in night portrait photography. It provides stability and allows you to use slower shutter speeds and lower ISOs, thus improving image quality while reducing camera shake.
Utilizing Batteries and Remote Shutter Release
Night photography often requires long exposure times, which can drain the camera’s battery quickly. Therefore, it’s essential to have spare batteries on hand. Additionally, using a remote shutter release can minimize camera shake during these long exposures and further improve image quality.
Importance of Lens Hood
A lens hood is a valuable accessory for night portrait photography. It helps prevent stray light from entering the lens and causing lens flare, ultimately improving overall image quality.
Types of Flashes
An external flash, such as an off-camera flash or a speedlight, can greatly improve your night portraits. Off-camera flashes allow you to control the direction and intensity of light, while speedlights can be used on-camera or remotely, providing flexibility in your lighting setup.
Lighting Techniques for Night Portraits
As we already talked a bit about the lighting beforehand, now we want to dive a bit further into how we can achieve good lighting when doing night portrait photography.
Using Ambient Light
When it comes to night portrait photography, we can still take advantage of “natural” or – more fittingly – ambient light sources even in the darkness. For example, using ambient light from street lamps or even the moon can create a soft, warm glow that adds depth and atmosphere to your portraits. Make sure to look for any interesting reflections or colors that might complement your subject. Experimenting with different angles and positions can help you find the most flattering light for your subject. It’s also crucial to adjust your camera settings, such as ISO, shutter speed, and aperture, to capture the available light effectively.
Flash Photography for Night Portraits
In some situations, using a flash is necessary for creating well-lit night portrait photography. There are multiple ways to use flash photography effectively, such as off-camera flash and bounce flash. Off-camera flash allows you to control the direction and intensity of the light more directly, while bounce flash helps create softer, more diffused lighting by reflecting the light off a wall or ceiling. When using flash, keep in mind that it’s essential to balance it with natural or ambient light so your portraits don’t appear overly harsh or artificial. Adjusting your flash power, angle, and distance from the subject can help you achieve the desired effect.
Using LED Panels and Reflectors
LED panels and reflectors offer another great option for lighting night portraits but are a bit harder to use, of course. LED panels provide continuous lighting, which can be easier to work with than a flash since you can see the light’s effect on your subject in real time. Look for LED panels with variable color temperatures and brightness levels to give you more creative control. On the other hand, reflectors can help you make the most of the available light sources, natural or artificial, by bouncing and shaping the light to your preference. They come in different sizes, materials, and colors, providing multiple options to experiment with and produce the desired lighting effect.
Composition Techniques for Night Portraits
Okay, but what about composition? That’s where the true art lies in portrait photography, after all. And night portrait photography is no different, of course! The right composition can really make your subject stand out or blend them into the environment – depending on the portrait you want to shoot.
Framing is an essential element in composing a captivating image. When shooting night portraits, natural frames like archways or doorways can draw the viewer’s eye towards our subject and emphasize their importance in the scene. We can also use artificial frames, such as umbrellas or streetlights, to create a more unique and visually appealing effect.
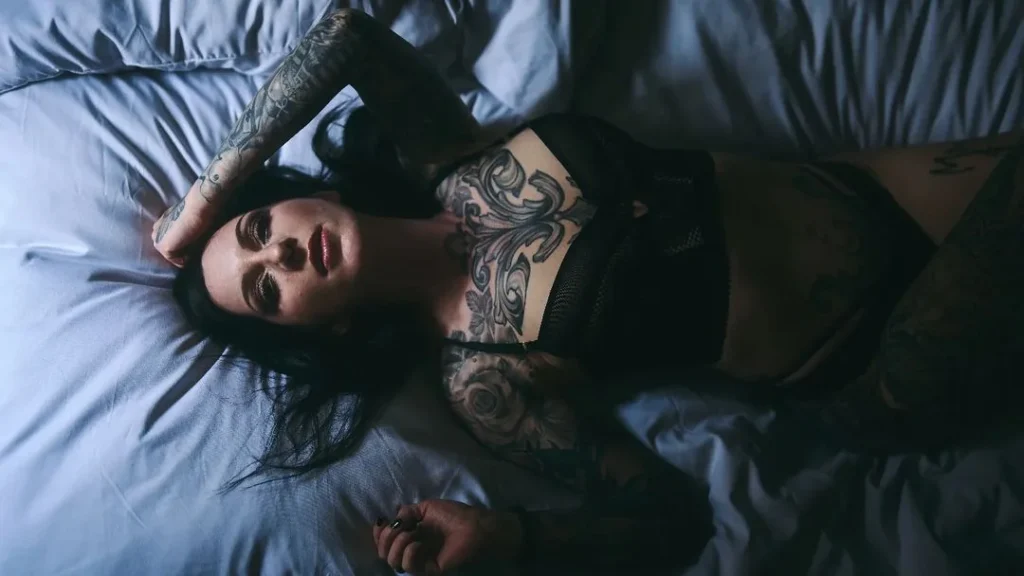
Negative space is another powerful tool we can use to give our night portraits a sense of depth and drama. By incorporating large areas of dark or uncluttered space around our subjects, we allow them to become the main point of focus and create a sense of isolation or separation from their environment. This can be particularly impactful in night portraits when the surrounding darkness emphasizes the subject’s presence in the scene.
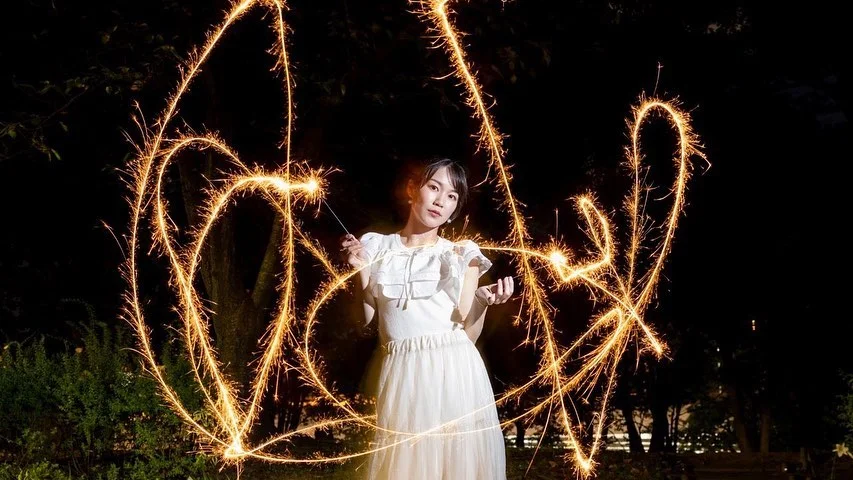
Introducing props into our compositions can also bring more interest and storytelling potential to our night portraits. For example, we might ask our subject to hold a beautifully lit lantern or umbrella or interact with a softly illuminated storefront window. Utilizing these elements helps to add a narrative element to the image while simultaneously providing additional light sources to enhance the subject.
Here are our top 5 props for night portrait photography:
- Candles: Can make for a great additional light source and give away a spooky or almost witchy atmosphere
- Sparklers: Similar to candles, but much more exciting and fast-paced. Make sure you have a good shutter speed!
- Books or Newspaper: You have to find the right composition for those so it seems interesting and natural
- Balloons: Classic, there are all kinds of balloons that can set different moods in your pictures
- Umbrella: A MUST when shooting in the rain. Will get you amazing photos!
How to Capture Mood and Atmosphere
Time for some personality in your photos! If you need some basics first, have a look at our ultimate portrait photography guide. Other than that, here we have some tips, especially for night portrait photography:
Colors and Color Temperature
When capturing the mood in night portrait photography, one important element to consider is the impact of colors and color temperature. Different colors can evoke different emotions, and by adjusting the color temperature in our photographs, we can create a more desired mood or atmosphere. For example, warmer tones (like oranges and yellows) can create a cozy and inviting atmosphere, while cooler tones (blues and purples) can evoke a more mysterious or unsettling mood. If shooting in urban areas, pay attention to the colors of streetlights and signs, which can add interesting color contrasts to your images.
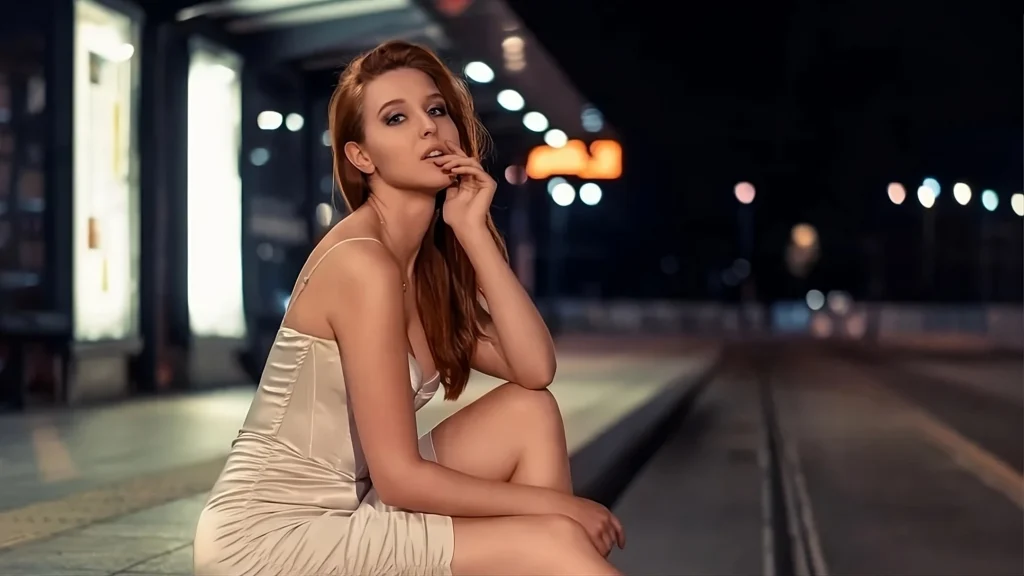
Creating Silhouette and Bokeh
Another effective way to capture mood and atmosphere in night portrait photography is by creating silhouettes and bokeh effects. A silhouette can be created by positioning the subject against a bright light source, such as streetlights or the moon. This will create a dramatic contrast between the subject and the background, resulting in a bold and striking image.
Bokeh, on the other hand, is the out-of-focus area of an image that can give your photos a dreamy or ethereal quality. To achieve bokeh, use a lens with a wide aperture (like f/1.8 or f/2.8) and focus on a subject that’s closer to the camera. This will blur the background and create a beautiful bokeh effect that can enhance the mood of your photographs.
Capturing the Stars and Moon
Finally, incorporating the stars and the moon into your night portrait photography can add an otherworldly and majestic touch to your images. To capture the Milky Way, go to a location away from city lights and use a tripod to keep your camera steady during long exposures. For the best results, use a fast, wide-angle lens and set your camera to a high ISO and a long exposure time.
As for the moon, experiment with different focal lengths and angles to capture unique moonlit portraits. Including the moon in your photos can add a sense of wonder and romance to your night portraits while also giving you a natural light source for illuminating your subjects.
Editing Night Portraits
For editing, we, of course, want to bring out our subjects even more and give them a strong appearance in our photos. Luckily, there are tons of post-processing we can do to enhance our night portrait photography.
RAW Processing
We love RAW Processing. Processing your night portraits in RAW format allows us to retain the maximum amount of detail and color information in our images. Many editing software options, like Adobe Lightroom or Capture One, are designed to handle RAW files efficiently. While working with RAW files, we can make precise adjustments to exposure, white balance, and color balance, ensuring that our night portraits look their best.
Here are some essential steps in RAW processing:
- Correct exposure: Adjust overall brightness levels to achieve proper exposure.
- Adjust white balance: Set the white balance to match the lighting conditions in the scene.
- Tweak color balance: Fine-tune colors to enhance the portrait’s skin tones or other visual elements.
Noise Reduction Techniques
Night portrait photography is often shot in low-light conditions, which can result in image noise. This digital noise can be distracting and even reduce image quality. Thankfully, post-processing software like Adobe Lightroom and Photoshop offer built-in noise-reduction tools to help us combat this issue.
To reduce noise in our night portraits:
- Adjust the luminance noise reduction slider: This helps remove noise while preserving fine details.
- Fine-tune color noise reduction: Use this to eliminate color artifacts that may appear due to noise.
Remember not to overdo noise reduction, as it may lead to a loss of detail in the image.
Enhancing Sharpness and Clarity
Capturing sharp and clear night portrait photography can be tricky, but with the right post-processing techniques, we can improve the overall sharpness and clarity of our images. Many editing software options, like Adobe Lightroom or Photoshop, offer built-in tools to help us with this task.
Here are some tips for enhancing sharpness and clarity in night portraits:
- Use the sharpening slider: Adjust this slider carefully to avoid over-sharpening the image.
- Apply a clarity adjustment: This helps bring out details and gives the portrait a more three-dimensional feel.
- Utilize local adjustment tools: Selectively sharpen or add clarity to specific areas of the image, like the subject’s eyes and face.
By following these tips and using the appropriate editing software, we can transform our night portraits into captivating, high-quality images that truly stand out.
My Opinion on Night Portrait Photography
I absolutely adore night portrait photography. Portraits are what got me into photography in the first place, and the low-light equivalent makes the photos way more mysterious and quite possibly otherworldly if done right. I know it’s hard to take on at first due to limited visibility and difficulty achieving sharp focus. But let me tell you: It is worth it!
All in all, night portrait photography is a fantastic opportunity to push our artistic boundaries and explore a less conventional side of portrait photography. So, grab your camera and tripod, and venture out into the night to capture some enchanting portraits by experimenting with light sources and embracing the challenges that come with night photography!
Now, you’ve got everything ready for your very own night portrait photography session. If you want to dive further, have a look at these articles:
Also, have a look at our Pinterest, to stay up-to-date with the latest photography trends!
Frequently Asked Questions
What settings should I use for night portraits?
We recommend using a wide aperture (f/1.8 to f/2.8), a slow shutter speed (1/60 to 1/125), and a higher ISO (800-3200) for better night portraits. Adjust settings based on your camera’s capabilities and available light.
How can I take a night portrait without using flash?
Use available light sources such as streetlights or windows, and have your subject face the light. Increase the ISO, decrease shutter speed, and use a tripod to stabilize your camera.
Which ISO is best for night photography?
For night photography, an ISO range of 800-3200 works well. Higher ISO values help capture more light but could result in increased noise. Adjust based on your camera’s performance in low light.
How do I take a great night portrait with an iPhone?
Use the Night mode on newer iPhones, and steady your hands or the device on a solid surface. Experiment with the Portrait mode and tap on the subject to adjust exposure and focus.
What are the ideal camera settings for night portraits on a Nikon?
For Nikon cameras, a wide aperture (f/1.8 to f/2.8), shutter speed of 1/60 to 1/125, and ISO 800-3200 should work well. Adjust settings based on your specific Nikon model and available light.
How can I achieve good outdoor flash photography at night?
Use off-camera flash and an umbrella or softbox to diffuse the light. Position the flash at a 45-degree angle to your subject, adjust the flash power for proper exposure, and balance it with ambient light.