I’m always open to new niches and aspects of photography. Especially combined with portrait photography – my favorite kind! An infrared photography portrait does exactly that. Combining an extremely interesting niche of capturing colors and contrasts with portraits.
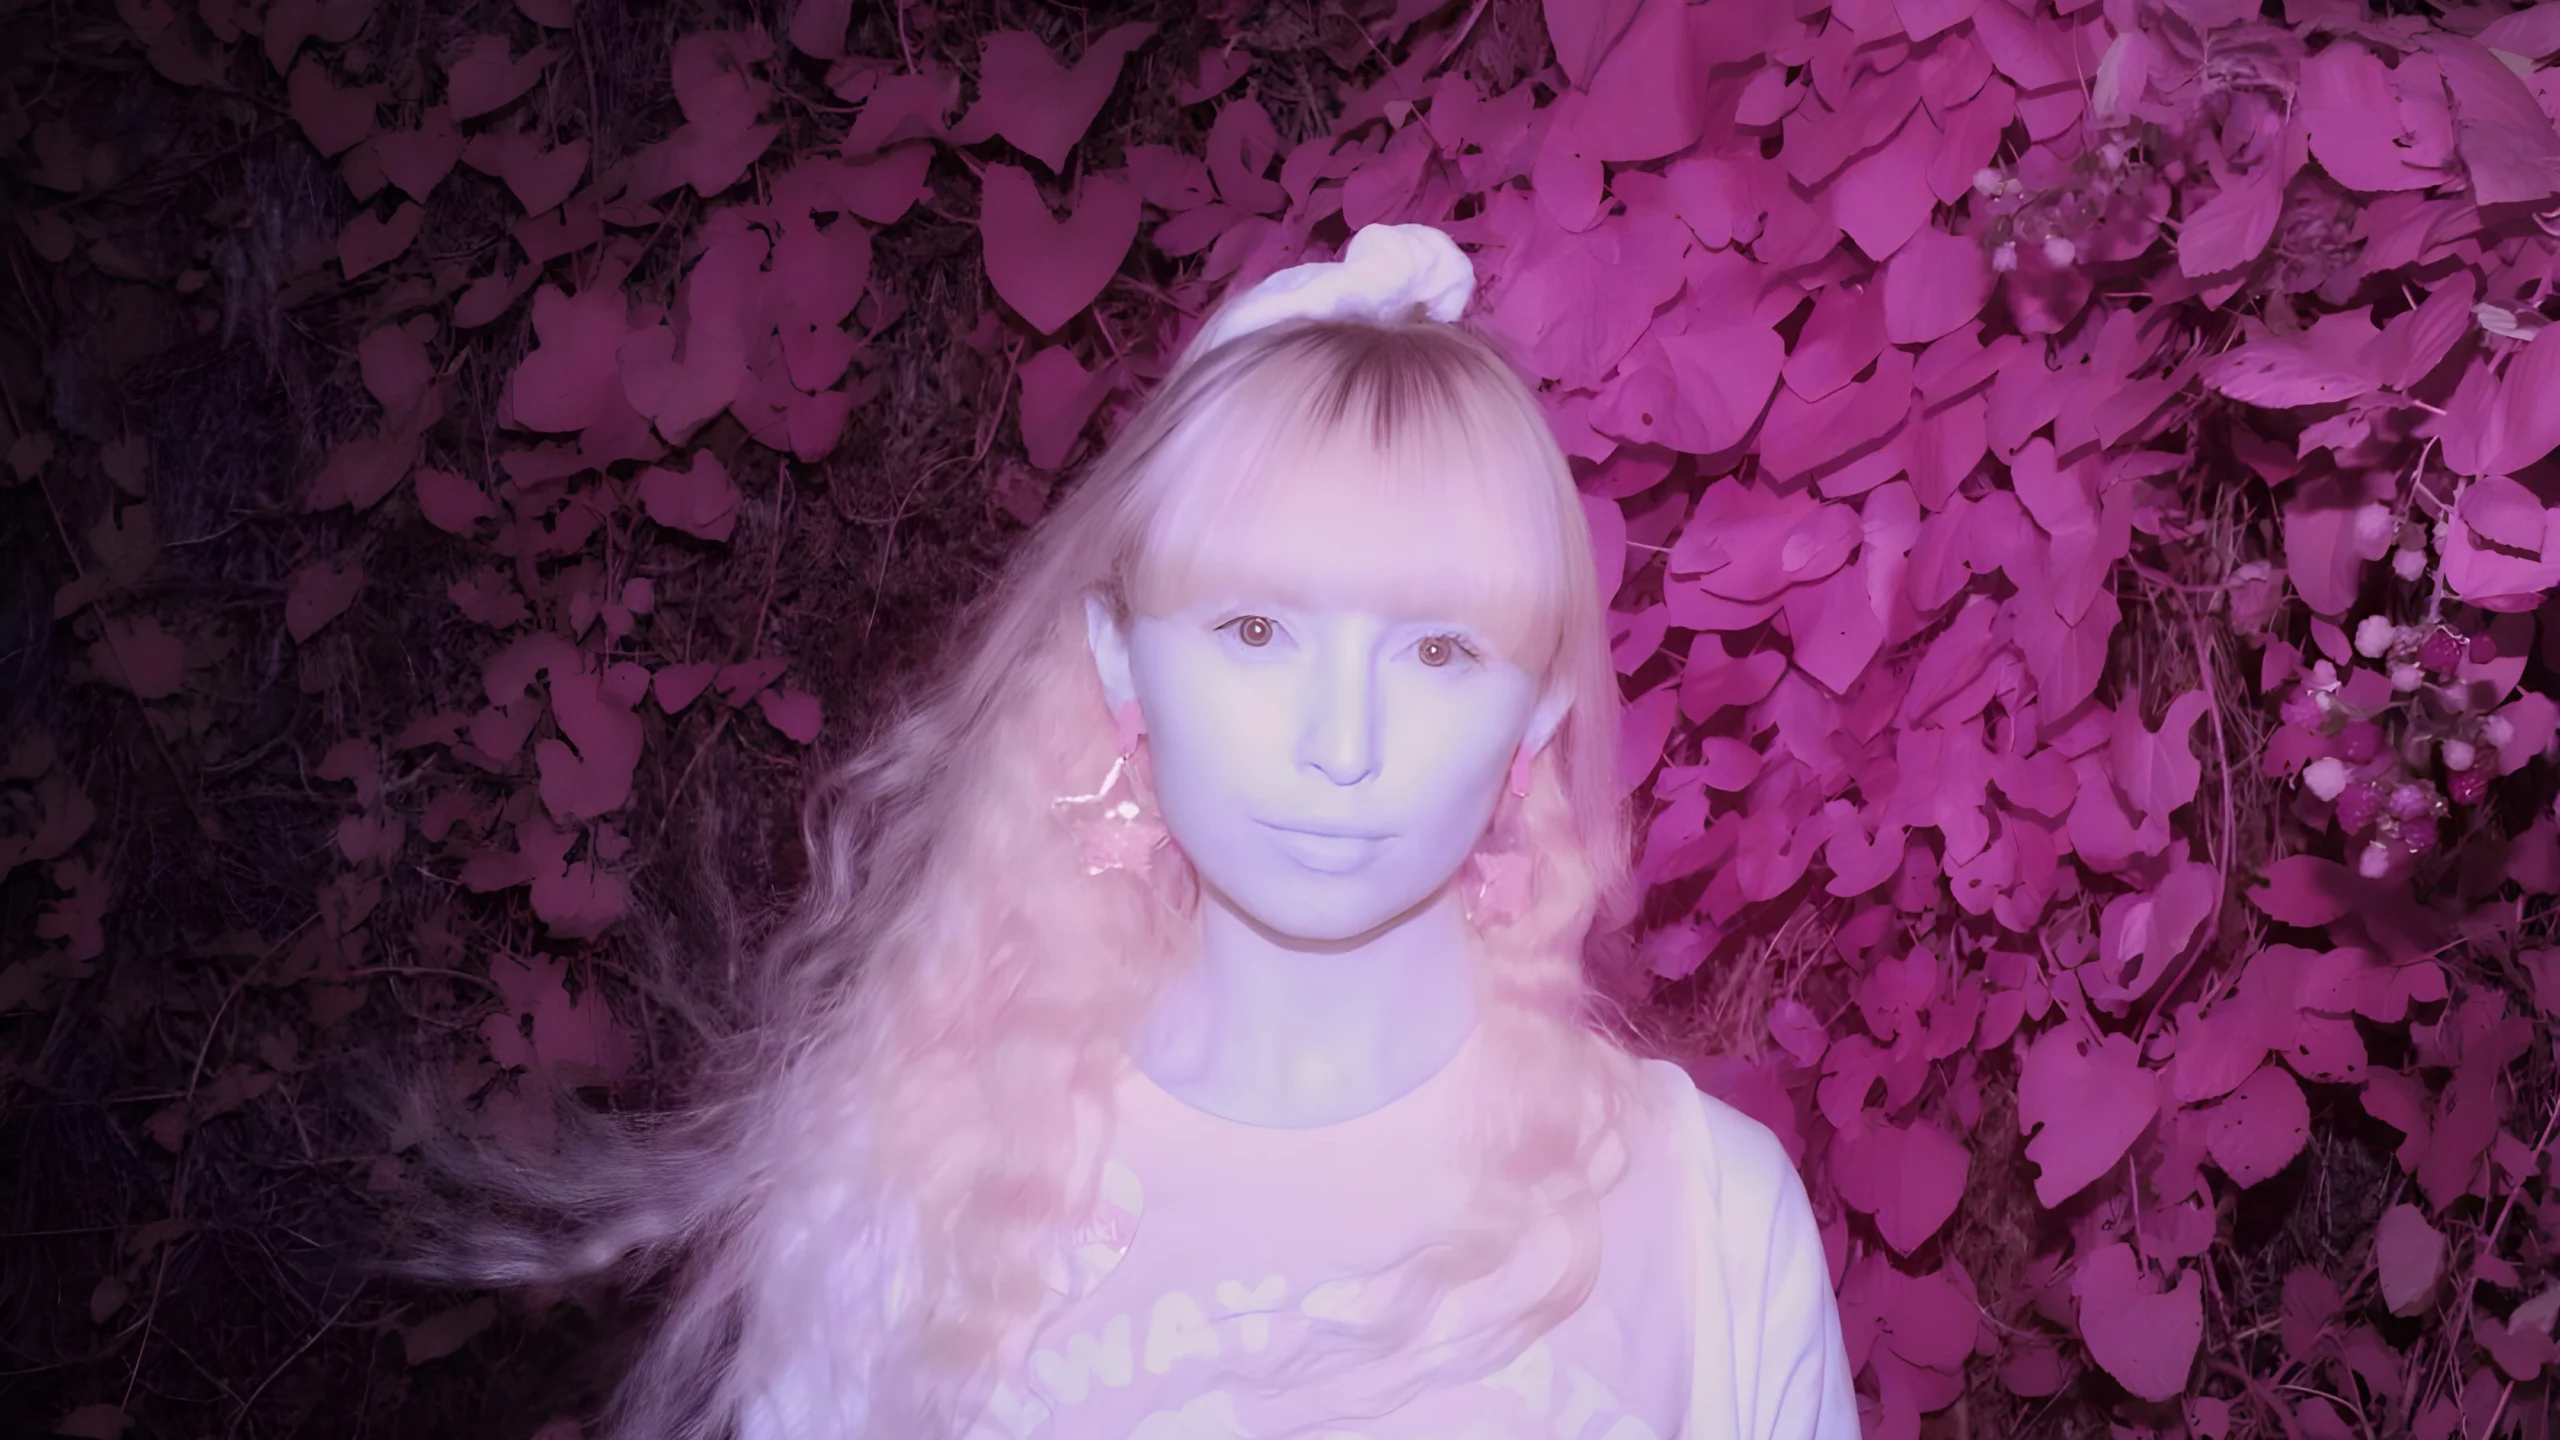
In this style of photography, the camera captures light beyond the visible spectrum, offering a surreal and unique perspective. In portrait photography, the infrared spectrum can transform skin into a smooth, almost porcelain texture, while hair and fabrics can take on an otherworldly glow. Let’s dive into this exciting topic!
What is Infrared Photography?
Okay, but…what is this all about in the first place? “Infrared photography portrait” may sound complicated or even too niche to be interesting, but it really isn’t. Stay with me!
IR Spectrum and Wavelengths
IR light is part of the electromagnetic spectrum that is invisible to the human eye. The IR spectrum includes wavelengths from about 700 nanometers (nm) to 1 millimeter (mm), extending beyond the red end of the visible light spectrum. It is typically categorized into:
- Near Infrared (700nm – 1400nm): Closest to visible light and often used in infrared photography.
- Mid Infrared (1400nm – 3000nm): Used for thermal imaging.
- Far Infrared (3000nm – 1mm): Longer wavelengths, mostly relevant to heat sensing.
Infrared Light in Photography
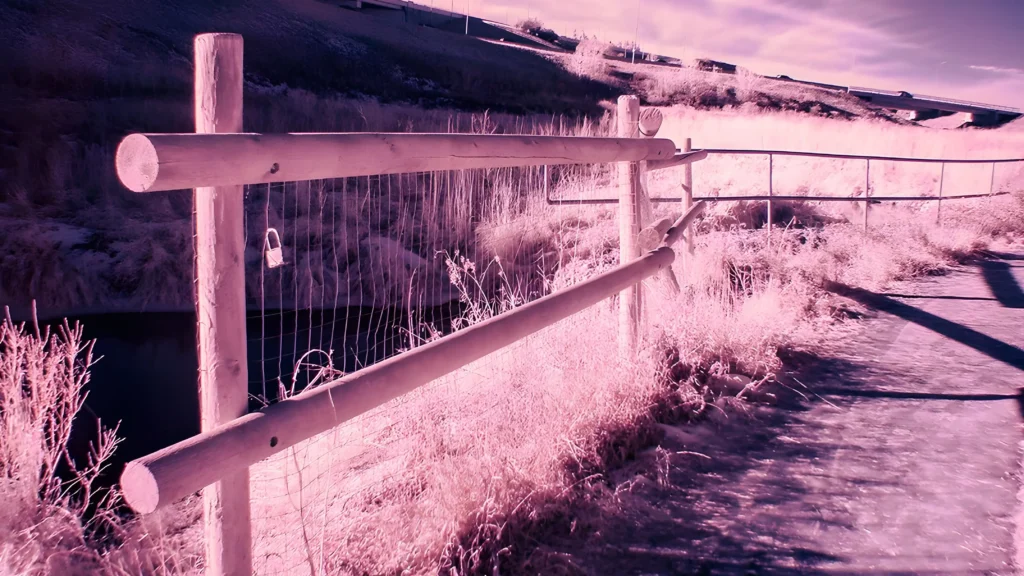
In photography, you utilize IR’s unique properties to create images with a dreamlike appearance. Infrared light in photography is not about capturing heat; that would be kinda boring. Instead, it reveals a world unseen by your eyes. It’s the near-infrared spectrum you’re harnessing to transform landscapes with vegetation or to give human skin a smooth, otherworldly quality.
Equipment and Settings
Now, the sad truth:
You need special equipment for an infrared photography portrait. You have to select a camera that can handle IR photography, use appropriate filters or camera modifications, and adjust your camera settings to get the best results.
Choosing the Right Camera
First of all, you need a digital camera that’s sensitive to infrared light. Some digital camera sensors have inherent IR sensitivity, while others may require a full spectrum or infrared conversion.
There are converted cameras, specifically modified for IR photography, that allow greater versatility and can be ideal for capturing an infrared photography portrait.
IR Filters and Modifications
On top of that, you’ll need an infrared filter, which you attach over your camera lens. This filter blocks visible light and only allows the IR spectrum to pass through. Alternatively, consider a hot mirror removal or a camera conversion for your DSLR or mirrorless camera, which is a more permanent solution.
✅ Multiple Filters for Experimenting
✅ Multiple Lens Sizes to choose from
✅ Saves Time and Effort for Editing
❌ Case is not perfect
Camera Settings for IR Portrait
Adjust your camera settings to accommodate the unique aspects of IR light. Start by setting a high ISO to compensate for the darkened view through a filter. Fine-tuning your white balance is essential—you might need to customize it depending on the filter and lighting conditions. Use a channel mixer in post-processing to enhance the surreal IR effect. Control your shutter speed to avoid motion blur, as IR filters typically necessitate longer exposure times.
Shooting Infrared Portraits
Now, let’s actually shoot our first infrared photography portrait! For that, we have to look out for the right light and – of course – the portrait composition!
Balancing Light and Exposure
In infrared photography, white balance is critical to managing the light and colors that are invisible to the naked eye. You will need to start with a custom white balance set from green foliage or another neutral-toned area in the infrared spectrum. When it comes to exposure times, they can differ significantly from visible light photography, often requiring longer durations, so a tripod is essential to avoid camera shake and ensure sharp images.
For the beginning I would suggest just to use natural light or a softbox for even and well distributed light. If you’re comfortable with that, you can try doing more experimental stuff with your light – that’s what makes an infrared photography portrait unique, after all!
Composing the Subject
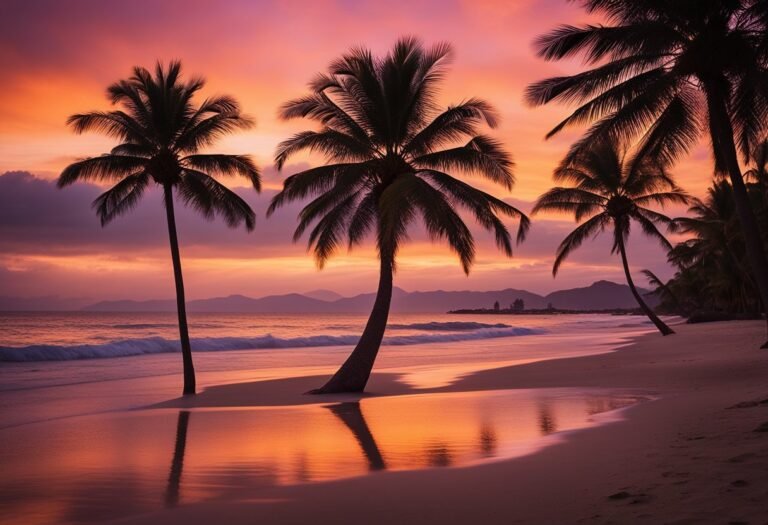
When composing your subject, take a moment to consider the background as well as the model. Since infrared light renders foliage and the sky differently than visible light, you can use these to create interesting contrasts that can make your subject really stand out. Depth of field is another critical element—use it purposefully to add a layer of depth or to isolate your subject from the surroundings.
Working with Skin and Hair
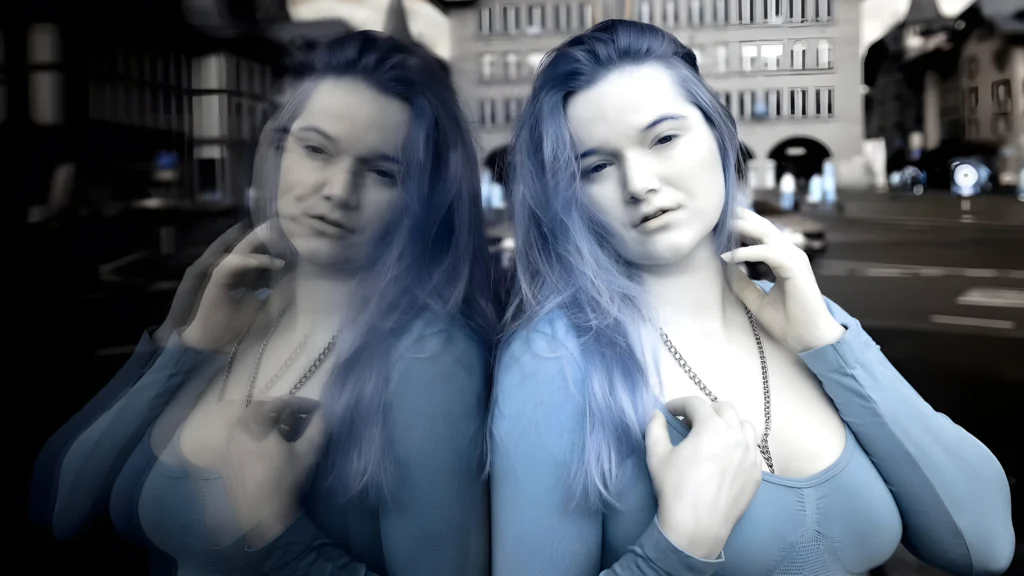
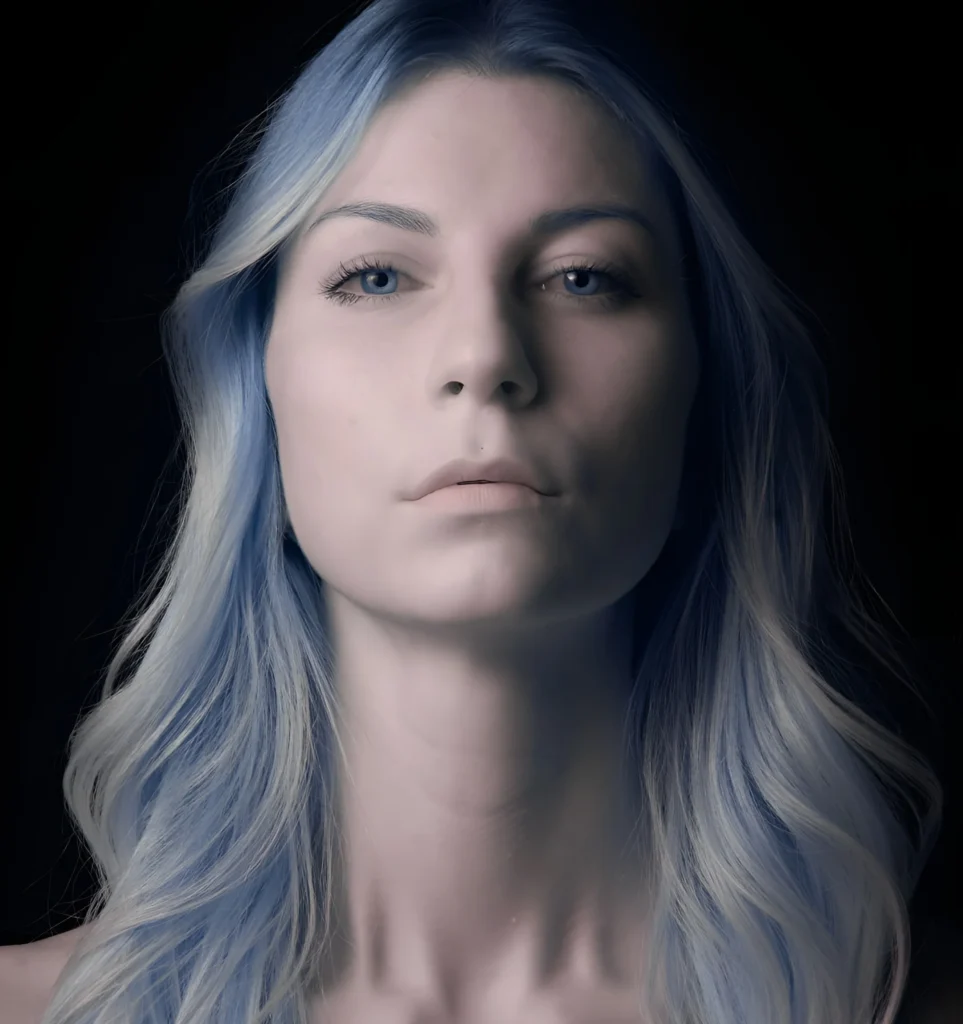
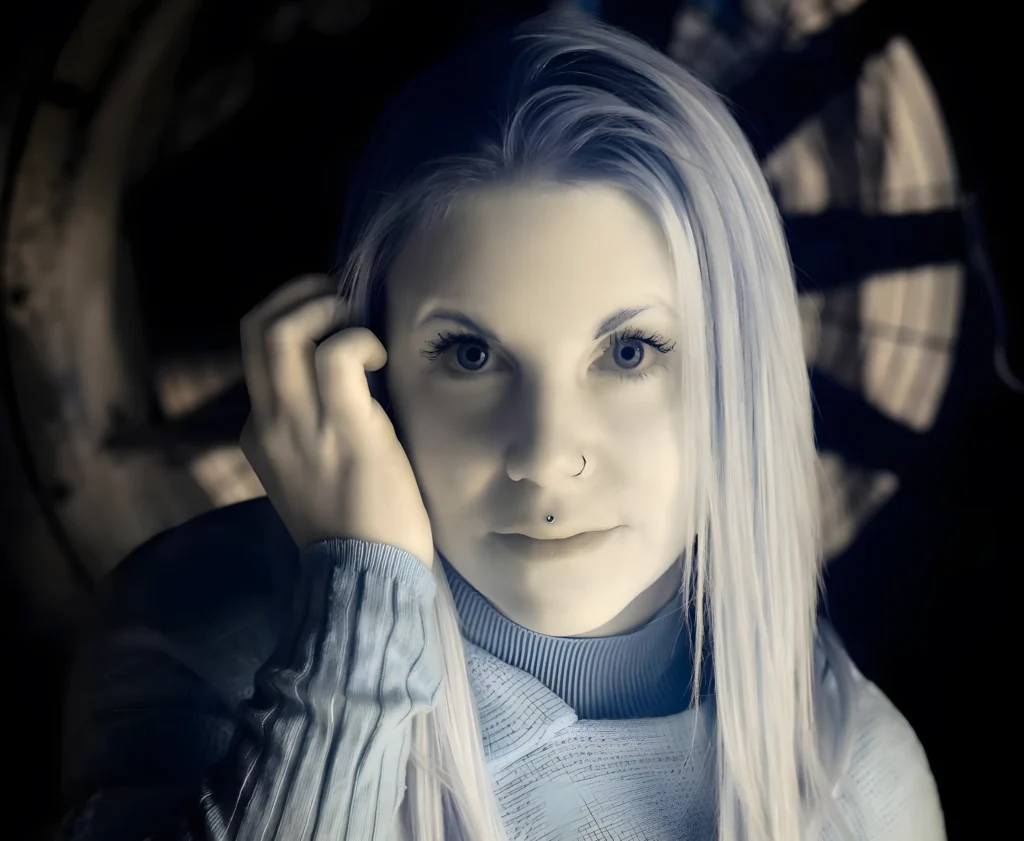
Infrared photography transforms the appearance of skin and hair, often resulting in very soft and ethereal looks. You might notice that skin tones become smoother, and hair can appear lighter or have a glow. Adjusting the contrast in post-production can help you manage these effects precisely. However, IR photography involves a bit of trial and error to perfect the technique for portraits, especially since black-and-white conversions can dramatize these features even more.
Post-Production Techniques
Now that we shot our infrared photography portrait, we want to get the most out of it! Time for some post-production:
Editing Infrared Images
Here are my top 3 tips for editing infrared images. The process can differ a bit from “normal” photos, so make sure you know about these:
- Adjust the white balance to remove any color casts
- Use channel swapping to enhance the IR effect. Try switching the red and blue channels
- Apply long exposure noise reduction to reduce grain and make your photos extra sharp!
Black and White Conversion
Turning your infrared images into black and white allows textures and contrasts to stand out truly.
- Start by creating an adjustment layer for Hue/Saturation and desaturate the image completely.
- Then, adjust the Levels or Curves to enhance the contrast, ensuring you achieve the deep blacks and pure whites that are hallmarks of high-quality black-and-white IR photos.
- Utilizing Photoshop’s Dodge and Burn tools can give you precise control over which areas of the image should be lighter or darker, adding depth to your composition.
My Experience with Infrared Portrait Photography
When I tried my first infrared photography portrait, I was quite skeptic about how that would turn out. It’s a completely different approach than traditional photography, after all! However, after I shot and edited them, I was fascinated by the hidden light and the dreamy colors that unveil themselves with this technique.
Infrared is often associated with thermal imaging. That’s what I thought for the longest time as well. But I was proven wrong! There is much more to an infrared photography portrait! The black and white (B&W) results can be profoundly moving, and when done right, motion blur is minimized, creating crisp, timeless pieces.
So, if you’re still skeptical about this niche of photography for you – give it a shot! I promise you that you will grow as a photographer, your results will look out of this world, and others will look in awe at your photos.
If you rather want to have a look at other niches or guides of photography, have a look at these articles:
Also, have a look at our Pinterest, to stay up-to-date with the latest photography trends!
Frequently Asked Questions
How do I find a photographer who specializes in infrared portrait photography?
To find a photographer experienced in infrared portrait photography, start by searching photography directories or forums online. You may also want to visit galleries that display infrared work, as artists might offer portrait services or can recommend someone who does.
What are the top-rated cameras for capturing infrared portrait photos?
The top-rated cameras for infrared photos are typically those that can be converted for full-spectrum or infrared use. Popular options include modified DSLR cameras from Canon and Nikon. For specific models, consult with photography stores or online communities dedicated to infrared photography.
Which famous artists are known for their work in infrared photography portraiture?
Artists like Simon Marsden have been known for their ethereal infrared portraits. Additionally, photographers like Richard Mosse have utilized infrared photography in portraiture to create striking and surreal imagery.
Why might someone choose infrared photography for their portrait sessions?
Someone might choose infrared photography for the distinct look it gives to the skin and surroundings, often imparting a dreamlike and surreal quality to portraits that is not achievable with standard photography techniques.
What are the optimal camera settings when taking an infrared portrait?
The optimal camera settings will depend on the lighting and the filter used, but generally, you’ll want to use a wide aperture to let in more light and a slower shutter speed. Shooting in RAW mode is also recommended for greater flexibility in post-processing.
What type of filter is recommended for infrared portrait photography?
For infrared portrait photography, a filter that blocks visible light and only allows infrared light to pass through is recommended. A common choice is the 720nm infrared filter, which can give skin a smooth appearance and enhance contrast with the sky and foliage.

