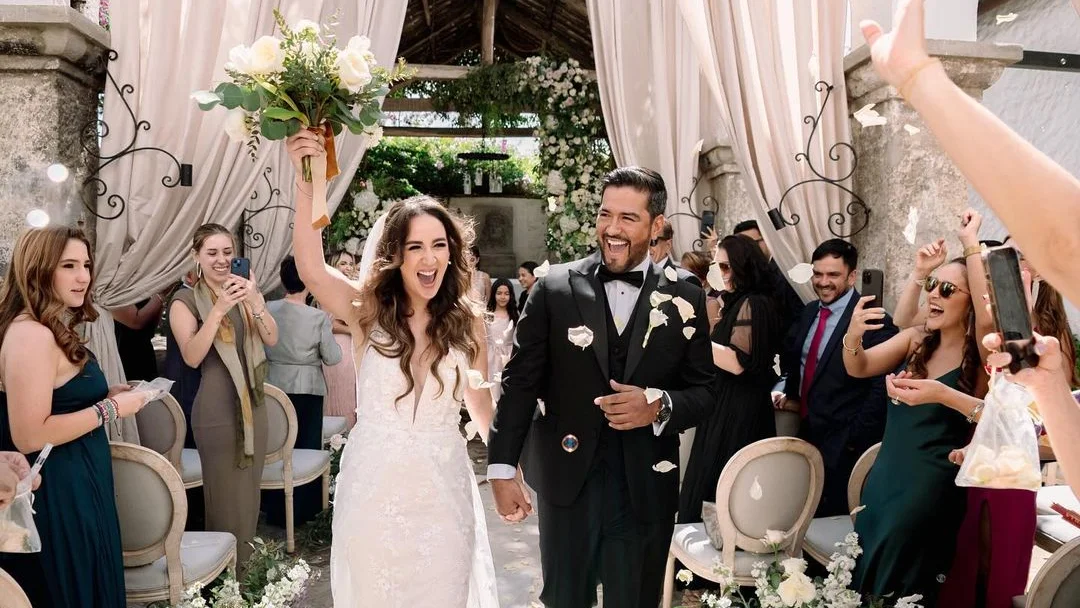
Every Wedding is unique and different. Therefore, finding the best settings for wedding photography can be quite tricky for a wedding photographer.
But no worries! As I know quite a number of experienced wedding photographers, I discussed the ideal settings with them. In this article, we will give you the best settings for wedding photography we agreed on!
Can’t wait? Just skip to the setting you’re interested in!
Best Basic Settings for Wedding Photography
So, let’s dive right into it!
If you don’t know all of the basic settings, don’t worry! We got you covered and explain what every setting does in an accordion.
Camera Mode
What is the Camera Mode?
Camera mode allows you to control and adjust specific settings on your camera, such as aperture, shutter speed, and ISO, to achieve the desired exposure and creative effects in your photographs.
First of all, we have to set our Camera Mode. By this, we can control the basic settings of our main three aspects of the camera:
- Aperture
- ISO
- Shutterspeed
These three are also known as the Exposure Triangle.
I recommend setting your camera to manual mode. This will give you the most freedom to get exactly the shot you want.
Furthermore, you most likely want to set your camera to Aperture priority mode. Most wedding photographers I know have always used this mode, as it just works perfectly.
Aperture
What is Aperture?
The aperture is like your camera’s pupil; it controls how much light enters the lens and, therefore, the depth of field. A larger aperture lets in more light but can also result in a blurrier background.
If you want a shallow depth of field in your photo, aim for a wide aperture.
You can get that by choosing a low f-stop number, around f/1.8 to f/4.
You want this for close-ups or portraits of the couple.
Meanwhile, a high f-stop number, such as f/5.6 to f/11, will give your photos more depth to it. This is great if you want group photos or candid photos of the wedding party.
ISO
What is ISO?
ISO in photography determines the sensitivity of the camera’s image sensor to light, with higher ISO values being used in low-light conditions but potentially introducing more digital noise or grain to the image.
For optimal image quality, we recommend using a low ISO setting, typically ranging from 100 to 400, which works well in well-lit conditions. Ideally, you want to shoot the most important (the couple) photos during natural light so you can get good-quality photos.
However, in low-light scenarios, increasing your ISO becomes necessary to capture properly exposed images. Be aware of your camera’s ISO capabilities!
Shutterspeed
What is Shutterspeed?
Shutter speed is how long the camera’s shutter remains open to capture a photo. A fast shutter speed freezes motion, while a slow one creates a sense of motion blur.
Opting for a fast shutter speed freezes moments, ensuring crisp shots, while a slower speed imparts a dreamy effect with motion blur.
For wedding photography, we want to freeze the moments. Therefore, we need a higher shutter speed. As the couple won’t be moving quickly like a bird, you should be fine with a shutter speed of 1/200.
White Balance
What is White Balance?
White balance is the adjustment of colors in a photo to make whites appear truly white, regardless of the lighting conditions. It ensures that the colors in your image are accurate and natural, avoiding a color cast caused by different light sources.
In wedding photography, white balance is crucial for accurate color representation and adapting to lighting like daylight.
Shooting in RAW allows post-production adjustments, while modern cameras often excel with auto white balance, ensuring your special moments radiate with true, natural hues.
Focus Mode
What is Focus Mode?
Focus mode in photography determines whether the camera automatically adjusts focus on a subject (autofocus) or allows the photographer to manually set the focus (manual focus). Autofocus is like a smart assistant that sharpens the image for you, while manual focus gives you control to choose the focus point yourself.
Honestly, you should probably just go with autofocus, if you’re unsure about this.
If you’re more advanced, you could try switching to single-shot mode for the bride and groom portraits. Single shots are something I’m quite familiar with as a passionate portrait photographer; however, it can be tricky to get the hang of it.
Metering Mode
What is Metering Mode?
Metering mode determines how the camera measures the light in a scene to set the proper exposure. It helps ensure your photos are neither too dark nor too bright by analyzing the light conditions and adjusting settings accordingly.
Evaluative or matrix metering mode is often a good choice for weddings.
This mode considers the overall scene and helps maintain balanced exposures in various lighting conditions, which is beneficial when capturing diverse moments in a dynamic wedding environment.
Drive Mode
What is Drive Mode?
Drive mode in photography refers to the setting that controls how a camera takes multiple shots in quick succession. It determines whether the camera captures a single image, a continuous burst of shots, or a timed delay between each shot.
Single-shot mode snaps one photo per shutter press. You’ll want this for the couple’s portrait shots.
Burst mode, on the other hand, captures a rapid sequence, ideal for action shots. Be cautious of buffering; excessive shots may cause a delay as your camera catches up before the next shot.
RAW Format
What is RAW Format?
The RAW format is like a digital negative that contains all the unprocessed data captured by the camera sensor. It preserves more information and allows for greater flexibility in editing, enabling photographers to enhance and adjust their photos with higher quality.
You HAVE to use RAW format for your photoshoot. This will make your life much easier for editing and generally enhance the quality of your photos.
We prefer both RAW and JPEG modes, using Photo Mechanic for culling and Lightroom for editing. If shooting in JPEG, ensure accurate camera settings for optimal image quality, including exposure and white balance.
Essential Gear for Wedding Photography
Let’s talk a bit about our equipment itself. To get it clear: Good equipment is expensive.
“The best way to make money as a photographer, is by selling your equipment.”
CasuallyExplained, Youtube
However, if you want to succeed as a professional photographer and satisfy your customers, you will definitely want to invest in a few essentials for your equipment. We will tell you what gear you will most likely need, as well as give you our favorite product of that category!
Camera and Lenses

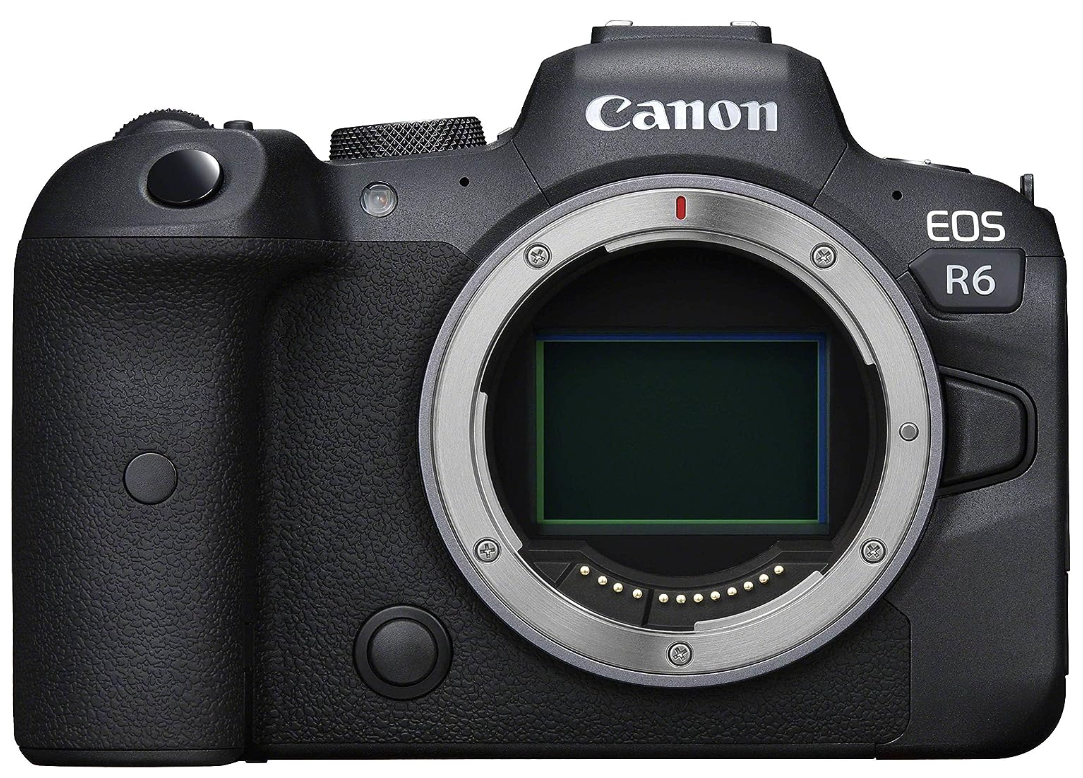
First and foremost, it’s important to invest in a high-quality, full-frame camera. These cameras offer excellent image quality and low-light performance, which is crucial for professional photography in different situations.
If you don’t already own a good camera, I would recommend the Canon EOS R6.
✅ All settings needed ✅ Great quality ✅ Beginner-friendly
❌ Only compatible with Canon Lenses ❌ Expensive
Now to the fun part: Lenses
You will need different lenses to adapt to the different scenarios you will encounter.
Doing group shots? You will need a wide-angle lens.
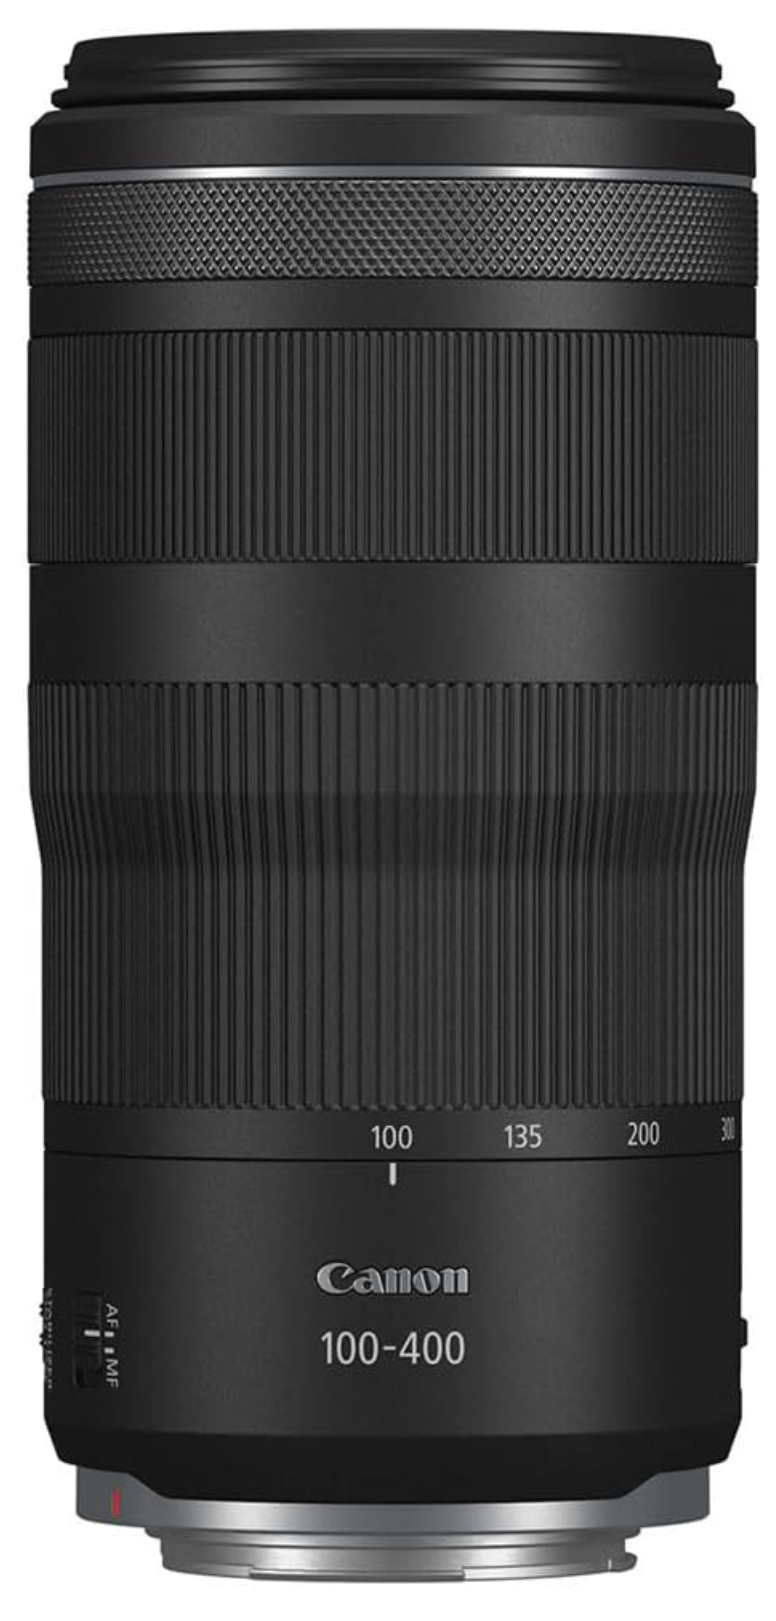
Doing close-ups of the couple? Telephoto is the way to go!
All in all, I recommend you at least get a telephoto lens alongside your default lens. It is great for capturing shots from a distance, like at the ceremony.
✅ Perfect for Close-ups ✅ Fitted for ceremonies ✅ Cheap
❌ Photos could be more sharp
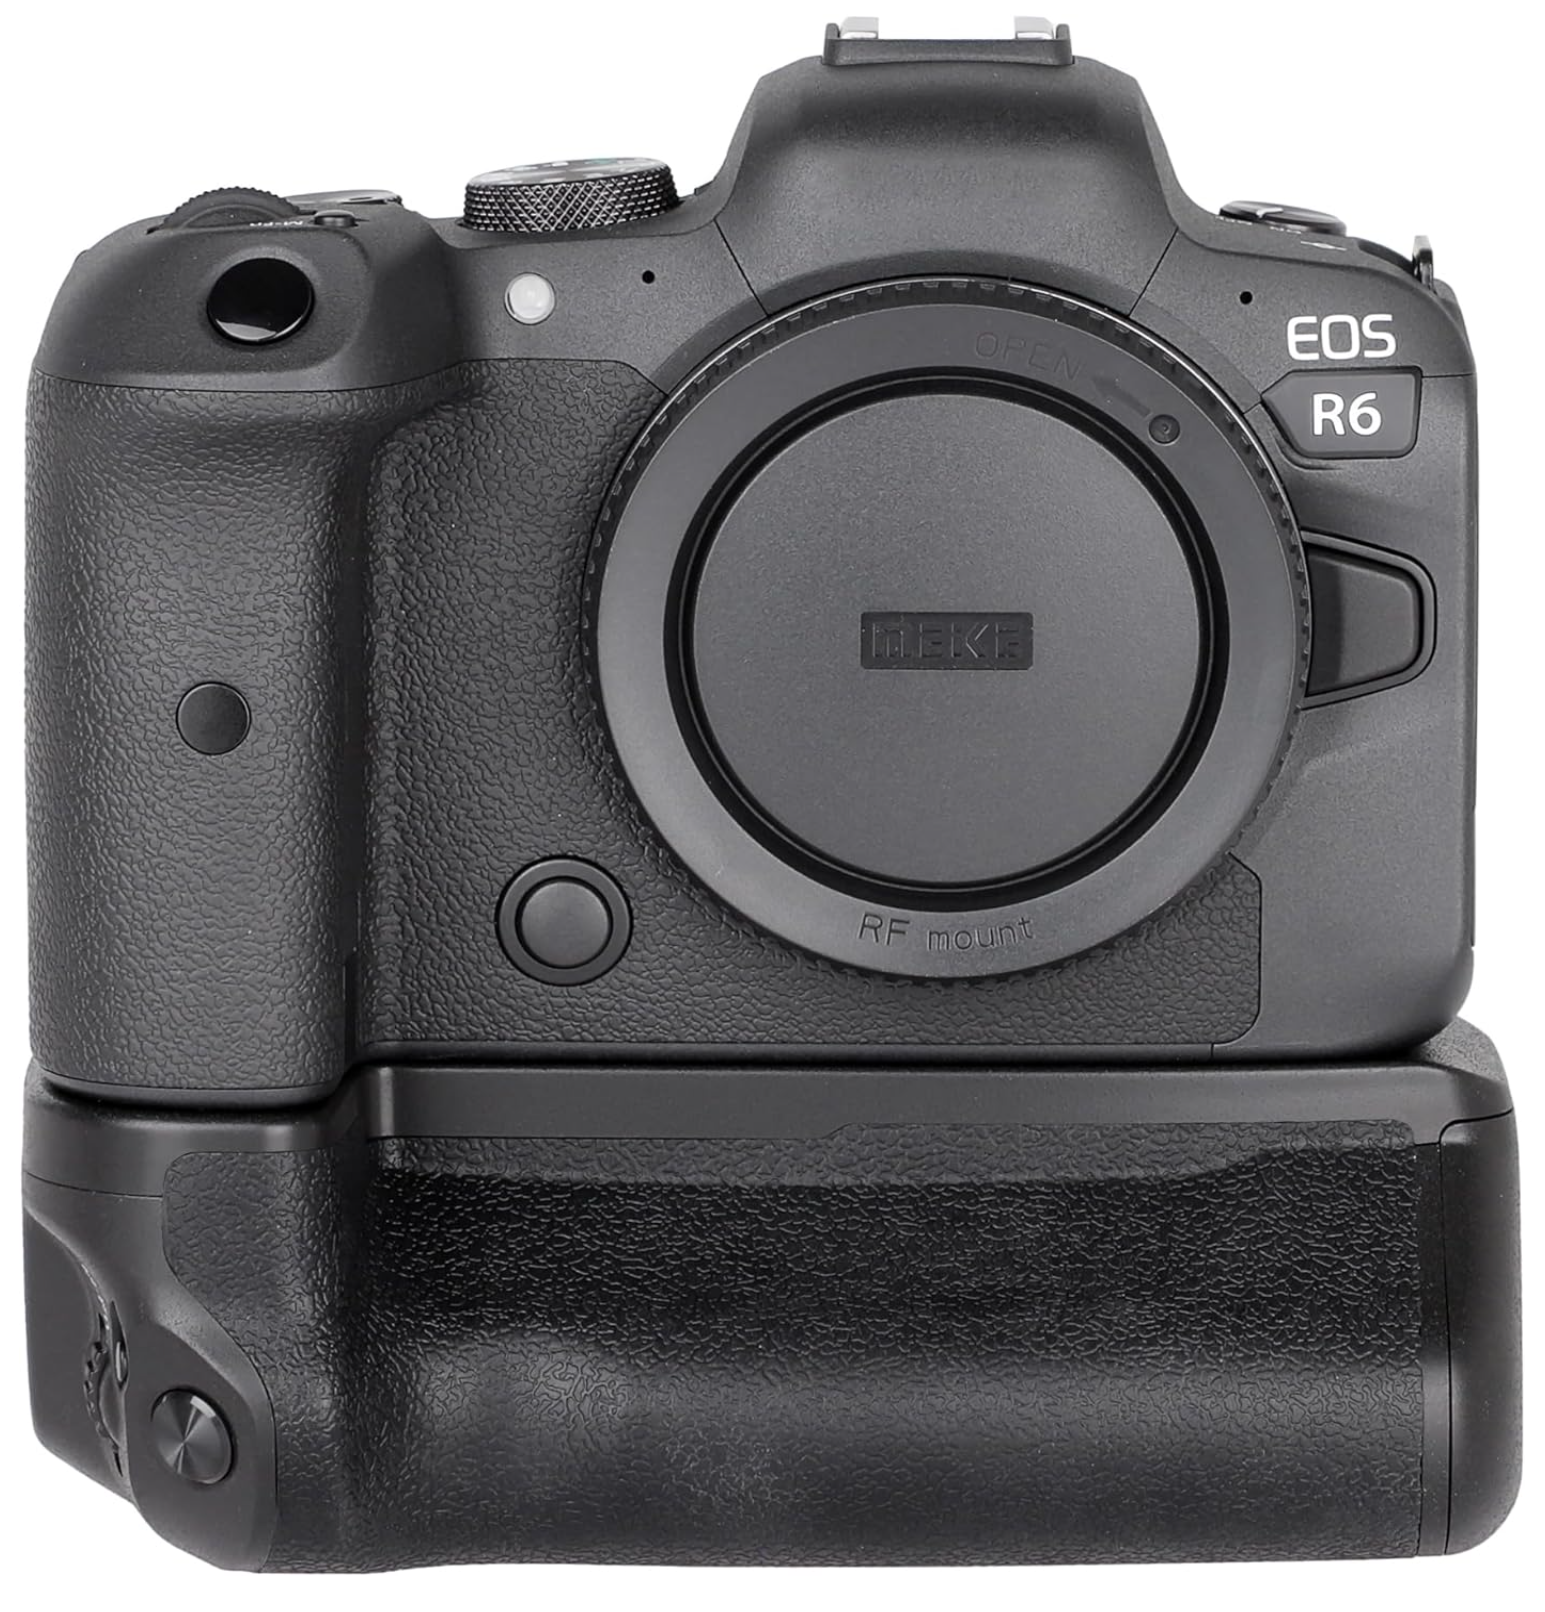
Battery Grip
Weddings can be long and exhausting events, so it’s essential to have enough battery power to last throughout the day. A battery grip not only extends your camera’s battery life but also provides extra stability and improved ergonomics for comfortable shooting during long hours.
Other “Nice-to-Haves”
Of course, you can buy loads of other essentials that can help you with your photo session. Here are a few inspirations for you:
- Enough Memory Cards
- Soft Boxes for better lighting
- Props for the couple to shoot with
However, with a simple camera, a lens or two, and enough battery, you’re already good to go for your wedding photography!
Post-Wedding Photography Processing
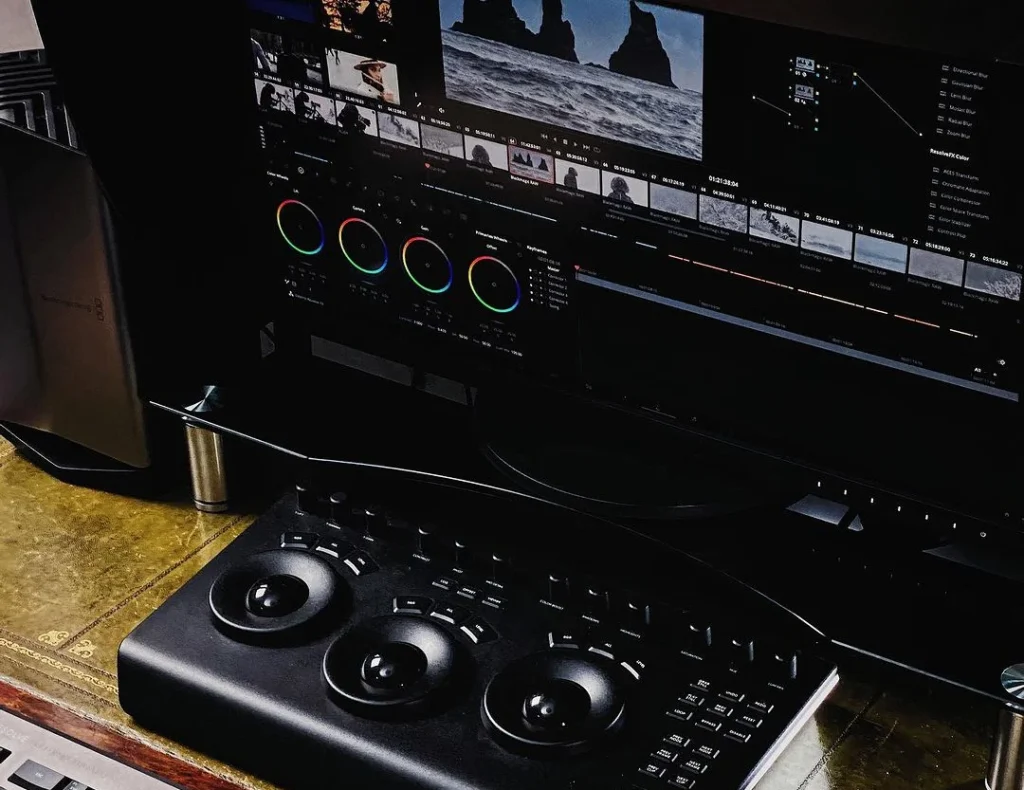
Now that we shot our photos with the best settings for wedding photography, it’s time to get the most out of them with a little help from our best friend: Post-Processing!
We won’t go over a full tutorial on this part. However, I have some points to add to this topic to give you a rough idea:
- Don’t overdo it: If your photos are good – editing can help make them better! But bad photos won’t become good due to heavy editing. Keep it simple
- Use Lightroom: Honestly, there are many editing software out there, but Lightroom is just state-of-the-art
- Play around with exposure compensation on darker photos. I’ve made so many “dark” shots look good with some of that; try it for yourself!
Otherwise, I recommend watching a quick tutorial for Lightroom. This one is quite nice:
Editing is an art in itself. You will get better with time; just experiment and play around with the settings, and your photos will look better!
Our Opinion on the Best Settings for Wedding Photography
Now, that is that! I spoke to many different wedding photographers, and those are the settings we agreed on as the best.
HOWEVER, be aware that your settings will highly depend on the circumstances of your shooting. The lighting, the amount of people, the dynamic and composition…
On top of that, nothing beats experience. A good photographer can adapt to certain wishes of the clients, special scenarios in a shooting, and, of course, get the best poses and composition out of the couple and the party! But don’t worry, this experience will come over time, and we all started out someday.
If I look back at my first commissions, I would cringe at my skill level back in that time. My composition was horrible, the lighting was suboptimal, and I most certainly did not make the customer feel really welcome as I was quite nervous and introverted. But it got better over time, and so will you.
Just keep shooting, and remember: Always Take the Shot
And, of course, do further research! Have a look at these articles, they will help you out a ton!
Also, have a look at our Pinterest to stay up-to-date with the latest photography trends!
Frequently Asked Questions
What are the ideal camera settings for indoor and outdoor weddings?
For indoor weddings, we recommend a wider aperture (low f-stop number), such as f/1.8 to f/4, to create a shallow depth of field, allowing more light in and blurring the background. For outdoor weddings, a narrower aperture (high f-stop number) like f/5.6 to f/11 is suggested for shots that require more depth, such as group photographs of the wedding party1.
Which lens should I choose for optimal wedding photos?
A versatile and high-quality lens like a 24-70mm f/2.8 zoom lens is a popular choice for a wide range of wedding photography situations. A prime lens with a focal length of 50mm or 85mm with a wide aperture, such as f/1.4 or f/1.8, can also be great for capturing intimate moments and capturing beautiful bokeh2.
What is the recommended shutter speed during various wedding events?
During the ceremony and reception, it’s crucial to have a fast enough shutter speed to capture sharp images and freeze motion. A shutter speed of at least 1/125 or even faster is suggested. For outdoor scenes, you can use slower speeds if necessary to allow more light into the camera2.
How to achieve the perfect white balance in different wedding environments?
Each wedding environment presents unique lighting challenges, so adjusting the white balance accordingly is essential. Use the custom white balance setting on your camera to match the light source, or shoot in RAW format to allow easy white balance adjustment during post-processing3.
Which metering mode works best for capturing wedding moments?
The most versatile metering mode for weddings is Matrix or Evaluative Metering. This mode ensures that the camera takes into account the entire frame to provide a balanced exposure. However, more specific metering modes, such as spot or center-weighted metering, can also be useful in scenarios that require careful consideration of light and shadows.
How to adjust settings for specific camera models like Nikon D7500 and D7200?
Each camera model has unique settings and options. Consulting your camera’s manual or online resources is recommended to learn more about adjusting settings for your specific model. For Nikon D7500 or D7200, focusing on adjusting aperture, shutter speed, ISO, and white balance settings is key to achieving great wedding photography results.

Bonjour je suis Christelle vie ensemble Julien Doré 💙