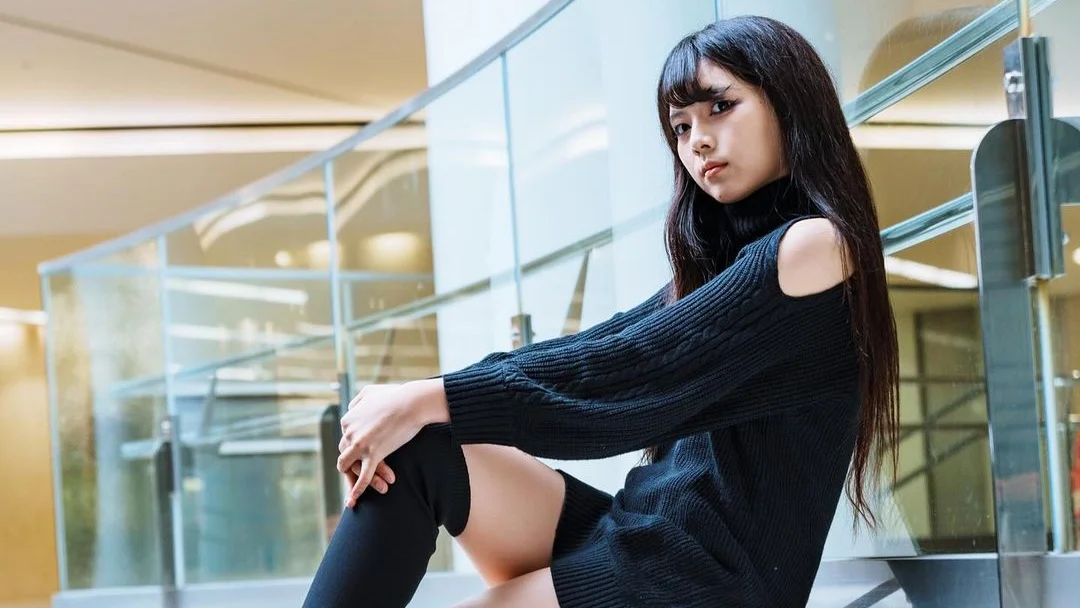
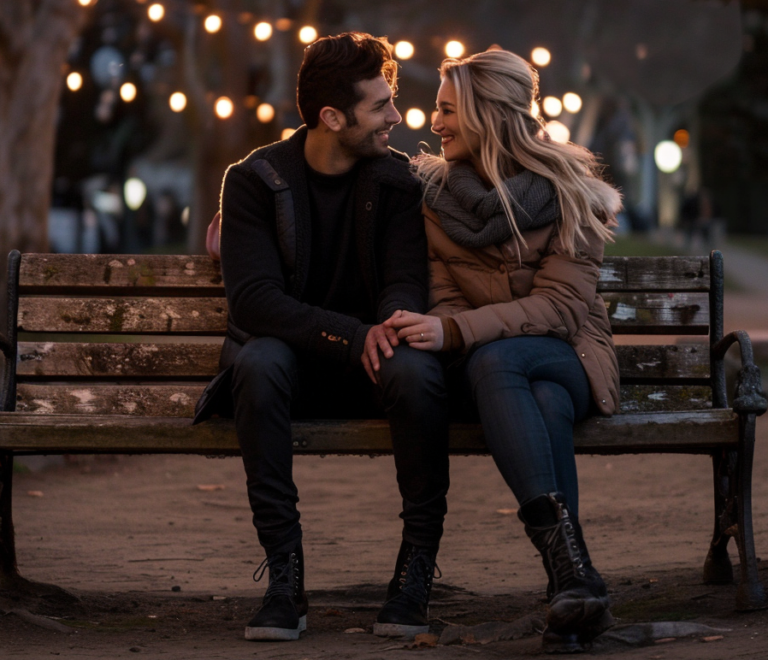
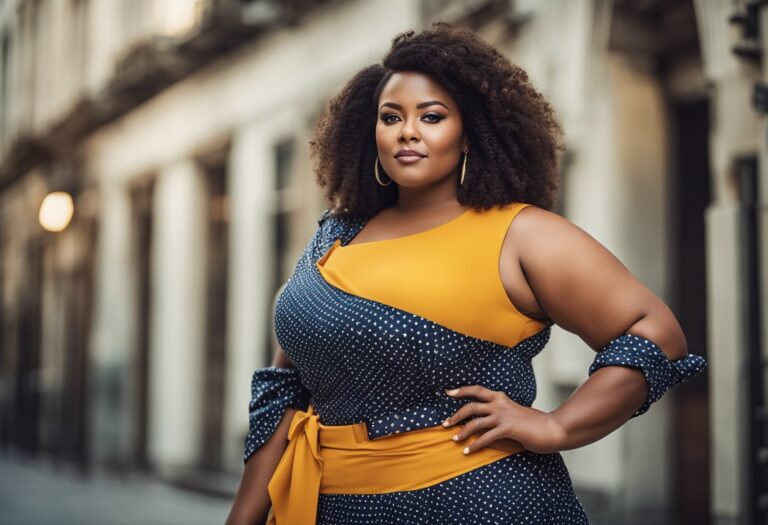
I absolutely love Portrait photography! Portrait photography composition is a key element to make your portraits look professional and powerful. You can achieve that by arranging the elements within the frame to create a visually pleasing and balanced image. Composition is really one of the cornerstones when it comes to photography itself – and especially portrait photography!
As a passionate photographer specializing in portrait photography, I will share the tips that I learned over the years and give you a step-by-step guide to becoming a better photographer overall!
Why do we care about Composition in Portraits?
If you want to jump straight into my 5 rules of portrait photography composition, click here:
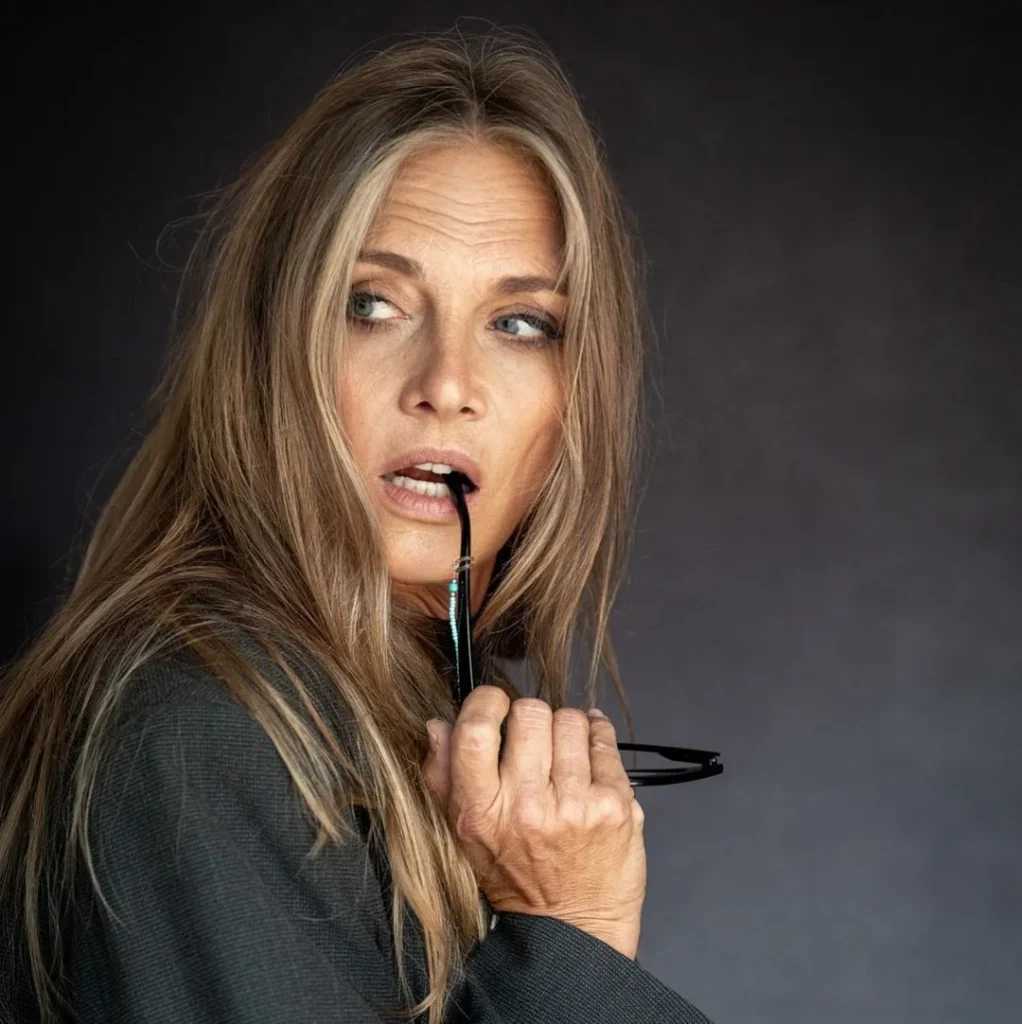
But why do we need composition in our portrait photos in the first place? Great question! Now take a look at this picture:
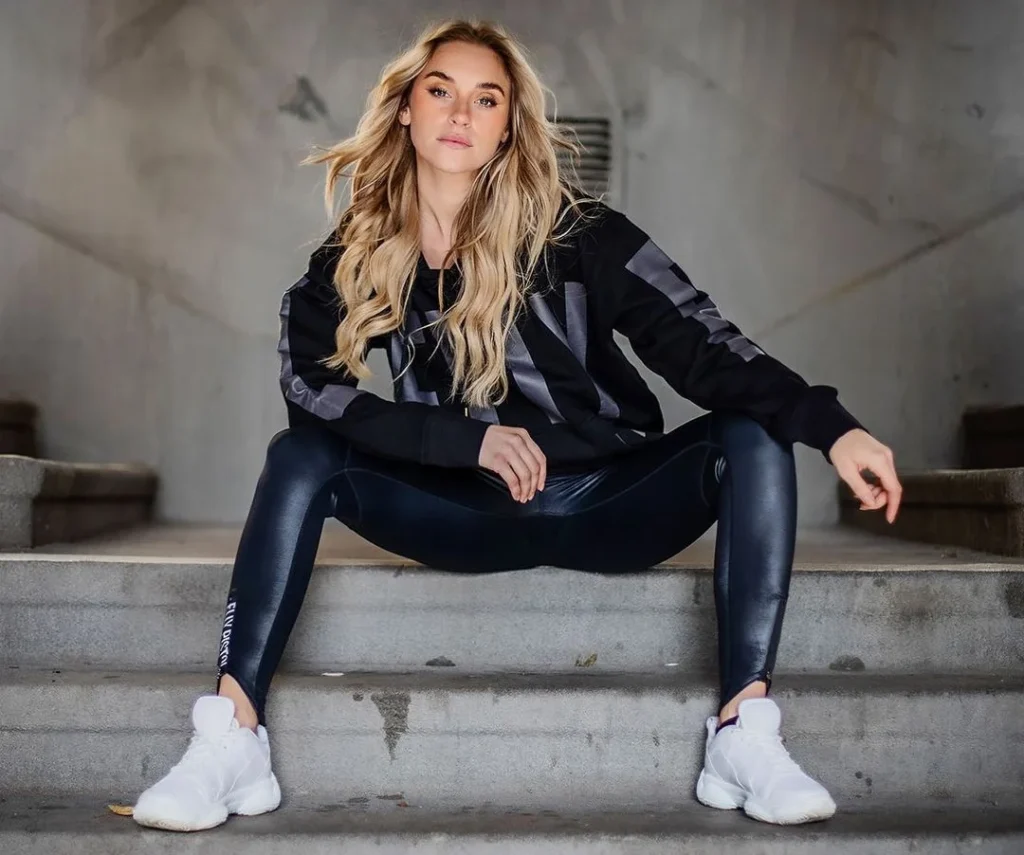
What do you think? Does it look professional? Well yeah, it does! Much better than most random Instagram selfies, right?
That’s mostly due to 2 reasons:
- Expensive Equipment: That’s just the truth; a 3000$ DSL camera will look more professional than an iPhone 4 camera :’)
- Great Composition: And the best part about Composition…it’s free! And you can learn the basics in a few minutes right here!
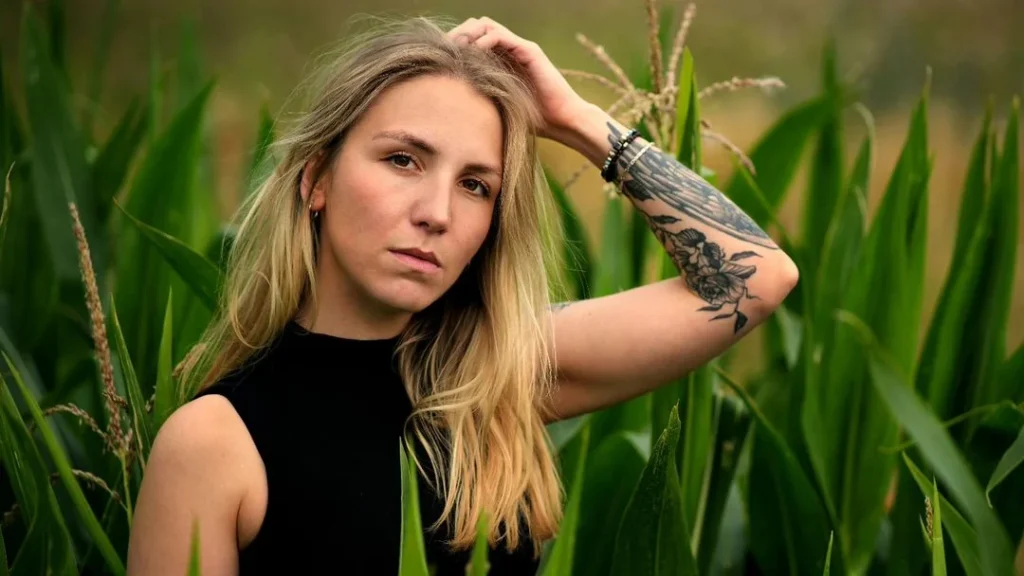
If you have a look at the photo again, you can see how the person just stands out. Your view is instantly drawn towards the face, with no distractions from the background. The angle is perfect; the lighting is comforting.
That’s what we want! That’s what makes good portrait photography composition.
Essentials of Camera Settings
But before we come to all the artistic details for our portrait composition, let’s talk about the technical aspects real quick. And – as always – we encounter our 3 best friends! ISO, Aperture, and Shutter Speed!
ISO
ISO is the sensitivity of the camera sensor to light. A higher ISO means that the sensor is more sensitive to light, which results in brighter images. However, a higher ISO also introduces more noise or grain in the image. For portraits, we recommend using the lowest ISO possible to achieve the desired brightness without introducing too much noise. Typically, ISO 100 is a good starting point for portraits taken in natural light.
Aperture
Aperture refers to the size of the opening in the lens that allows light to enter the camera. It is measured in f-stops, with a lower number indicating a larger aperture and a higher number indicating a smaller aperture. For portraits, we recommend using a wide aperture (low f-stop number) to achieve a shallow depth of field, which helps to isolate the subject from the background and create a pleasing bokeh effect. However, be careful not to use too wide an aperture, as this can result in a blurry image if the focus is not spot on.
Shutter Speed
Shutter speed refers to the amount of time that the camera’s shutter is open, allowing light to enter the camera and hit the sensor. A faster shutter speed means that the shutter is open for a shorter amount of time, resulting in a darker image. A slower shutter speed means that the shutter is open for a longer amount of time, resulting in a brighter image. For portraits, we recommend using a fast shutter speed (at least 1/100th of a second) to freeze any movement and avoid blur.
Studio Lighting
Light is also part of our technical equipment. And greatly depends on your location! If you’re outside, you probably want to go for natural lighting. Also, make use of the golden hour, as it’s one of the easiest times to shoot.
In a studio setting, natural light is most often not an available choice, sadly. So we have to choose artificial light! The type of light source you use can greatly affect the look and feel of your portraits:
- Hard Light Source: Like a bare bulb or harsh bright light
This can create strong highlights on your model with defined shadows. Really interesting to play around with, but a bit harder for beginners! - Soft Light Source: Most typically, a diffused umbrella
A more even, flattering light that is perfect for portraits. You don’t have to worry much; great for beginners!
5 Rules to Master Portrait Photography Composition
Now, let’s talk about the fun part! The art that makes portrait photography so interesting. Composition. In my years, I’ve got the best results by following these 5 rules of composition. Some of them are really basic and clear once you’ve read them; some may leave you wondering until you actually try them yourself. Have a look!
1. Rule of Thirds
One of the most well-known composition techniques is the rule of thirds. This rule suggests dividing the image into thirds, both vertically and horizontally, creating nine equal parts. Like so:
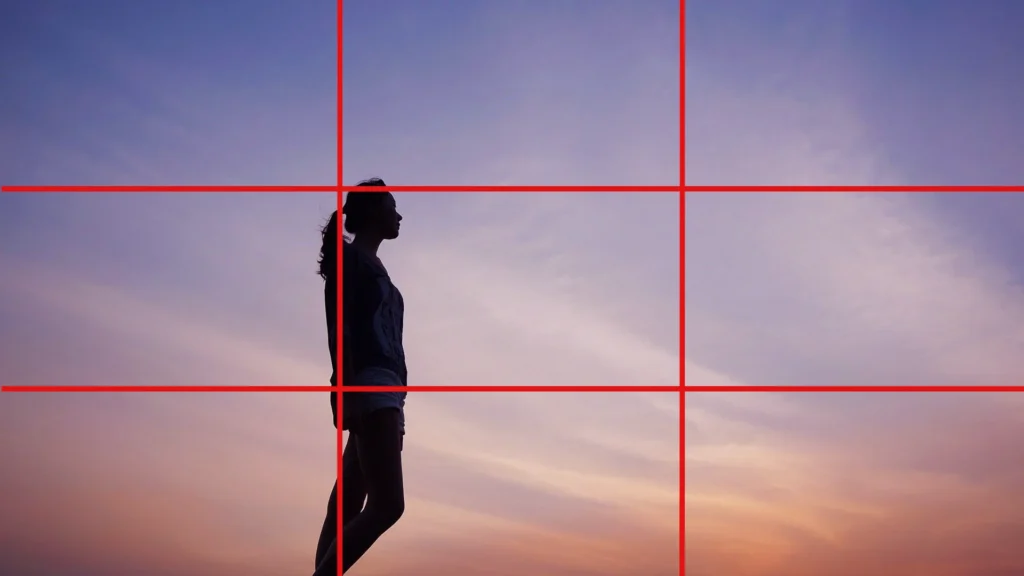
What you want to do now is place your subject on an intersection of these lines. This way, you can create interesting motifs and include the background but still have appealing aesthetics.
2. Rule of the Leading Lines
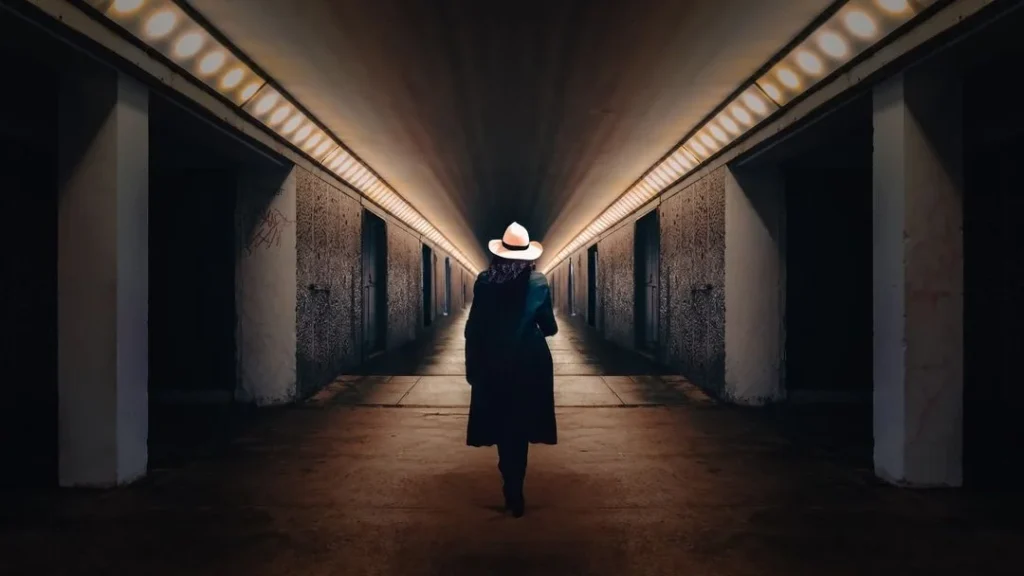
Leading lines are super cool and easy to use! The are lines within the image that draw the viewer’s eye towards the subject. Sort of like a straight (or sometimes curved) arrow. Those can be found in various elements of the image, such as roads, buildings, or natural elements. Using leading lines can create depth and add interest to the photo.
3. Rule of Space
The rule of space suggests leaving space in front of the subject for them to look or move into. This technique creates a sense of movement and adds depth to the image. This might be a bit harder to grasp, but if you want to add some sense of motion or excitement to your portraits, you should dive further into this rule.
4. Rule of Odds
This one is so simple, yet you would hardly think of it by yourself:
The rule of odds suggests that an odd number of subjects in the image is more visually appealing than an even number. This not only applies to whole subjects but also to body parts. Luckily our hands have 5 fingers!
5. Rule of the Golden Triangle
Lastly, the golden triangle is a composition technique that uses a diagonal line to divide the image into two triangles. The subject is placed at the intersection of these triangles. It sounds pretty easy, but it’s a bit harder to pull it off during a photoshoot. Practice makes perfect!
When it comes to portrait photography composition, there are three essential elements that we need to consider. These cornerstones are framing and posing, exploring depth and perspective, and experimenting with lighting and angles. Let’s take a closer look at each of these elements.
Experiment with the Scene
Of course, these rules are not all composition is about. They are easy to remember and can improve your photos really quickly. But the real deal comes now:
You can play with light or the angle! Or even try to get a different feel of depth! And so on. There are almost infinite possibilities to spice up your photo. So let’s dive into it and give you a few ideas!
Framing and Posing
Framing and posing are crucial components of portrait photography composition. We need to consider the placement of our subjects within the frame and how they are positioned. The placement of our subject should be deliberate and intentional. Remember: Use the rule of thirds here!
In addition to considering the placement of our subject, we also need to think about their pose. The pose should be natural and relaxed, and we should aim to capture their personality and character. If you need some further tips, have a look at our posing guide!
Exploring Depth and Perspective
Another critical aspect of portrait photography composition is exploring depth and perspective. We need to consider how we can create depth in our images to make them more dynamic and interesting. Leading lines can come in handy here!
We can also experiment with different perspectives to create depth in our images. For example, we can shoot from a low angle to make our subject appear more powerful or from a high angle to create a sense of vulnerability.
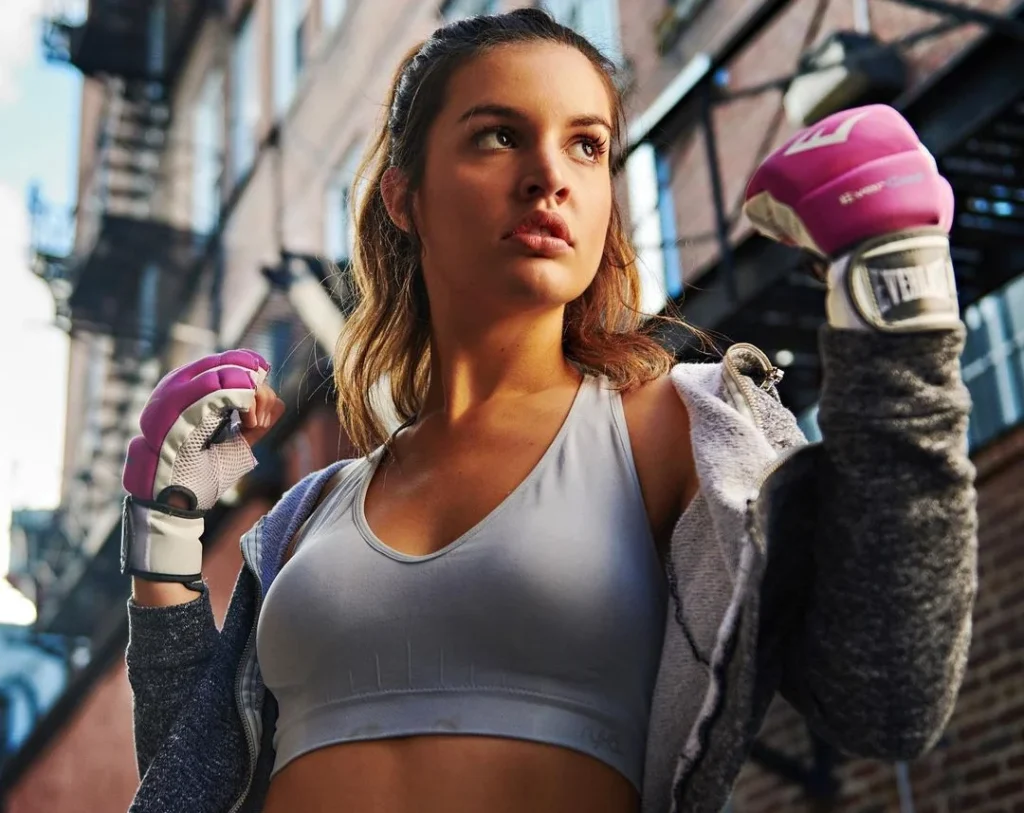
Notice the angle this photo is taken from. It’s slightly below her, which gives her a strong and powerful appearance. Just fitting for a boxer!
Experimenting with Lighting
Lighting is really powerful for portrait photography composition. The right lighting can create strong shadows that really elevate the emotions in your photos. But getting the perfect light might also be one of the hardest aspects of portrait photography composition.
If you want to create a romantic or dreamy mood, you should stay with soft lighting, as we discussed earlier. For most photographers – and especially beginners – this will be perfectly fine.
Otherwise, we can use harsh, dramatic lighting to create a sense of tension or excitement. However, this lighting often creates the strong shadows I mentioned. This can be great if you know how to use them! Just play around with it, you’ll get the hang out of it!
Post-Production Techniques

Once we have taken our portrait photographs, it’s time to enhance them using some post-production! Although editing won’t really save any photos with bad composition, it can certainly help to make good photos even better! Here are some of the most common post-production techniques I use for portrait photography:
Saturation
Saturation is a post-production technique that allows us to adjust the intensity of colors in a photograph. By increasing the saturation, we can make the colors more vibrant and eye-catching. Conversely, by decreasing the saturation, we can create a more muted and subdued look. We can use this technique to create different moods and emotions in our portraits.
Bokeh
Bokeh refers to the aesthetic quality of the out-of-focus areas in a photograph. We can use this technique to create a shallow depth of field, which can help us isolate our subject from the background. By blurring the background, we can draw the viewer’s attention to the subject and create a more dynamic composition.
Contrast
Contrast involves adjusting the tonal range in an image. By enhancing contrast, we can make the dark areas darker and the bright areas brighter, which can create a more dramatic and dynamic look. Conversely, reducing contrast can give a softer and more ethereal feel to a photograph, which is often a nice effect for your portrait photography.
We only scratched the surface of editing here. Have a look at this guide if you want to know more!
Our Opinion
As I said, I love portrait photography. It’s the type of photography that really got me into this hobby in the first place. I’ve probably shot thousands of portrait photos, and I’m still not tired of it! (Luckily, there are many different types of portrait photography, so I won’t get tired anytime soon!
Learning portrait photography composition can be a hard task. However, the more photos and portraits you take, the better you get. It’s that simple. Not only will you learn new rules, but also just get a natural feeling for good and bad composition.
If you’re just starting out and feel overwhelmed, just try to stick to the 5 rules I mentioned. You will get much better results with those! If you still want to dive further into portrait photography, have a look at these articles:
Also, have a look at our Pinterest, to stay up-to-date with the latest photography trends!
Frequently Asked Questions
What are some common composition rules for portrait photography?
For portrait photography composition, there are a few common rules. One of the most important rules is to pay attention to the background and make sure it is not distracting from the subject. Additionally, you can use leading lines and framing to draw the viewer’s eye towards the subject.
What are the elements of composition in portrait photography?
The elements of composition in portrait photography include the subject, the background, the lighting, and the pose. The subject is the main focus of the image and should be positioned in a way that is visually appealing. The background should complement the subject and not distract from it. Lighting is important to create a mood and highlight the subject’s features.
What are some advanced composition techniques for portrait photography?
Some advanced composition techniques for portrait photography include using symmetry, negative space, and color theory. Symmetry can create a sense of balance and harmony in the image. Negative space can draw attention to the subject and create a minimalist feel. Color theory can be used to create mood and emotion in the image.
How can I improve my portrait photography composition?
To improve your portrait photography composition, you can practice the basic rules of composition and experiment with different techniques. You can also study the work of other photographers and analyze their composition choices. Additionally, you can get feedback from others and continue to learn and grow as a photographer.
What are some different full-body portrait composition options?
Some different full-body portrait composition options include using different angles, poses, and framing. You can also experiment with different backgrounds and lighting to create different moods and atmospheres.
What is the composition of a typical headshot?
The composition of a typical headshot is usually a close-up of the subject’s face, with the eyes in focus and the background blurred. The subject is usually positioned off-center using the rule of thirds, and the lighting is used to highlight the subject’s features.

