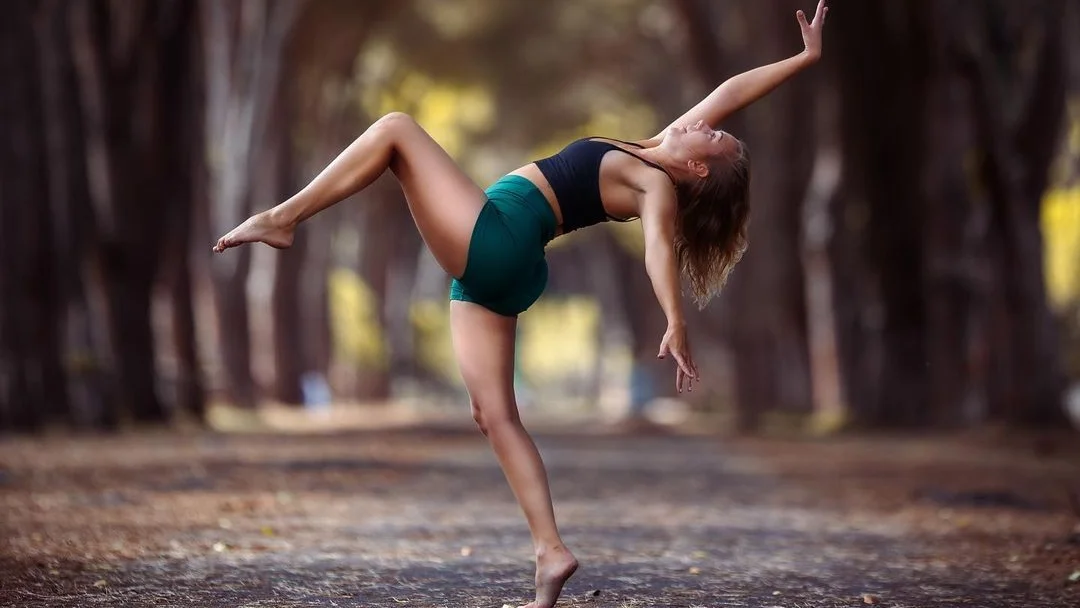
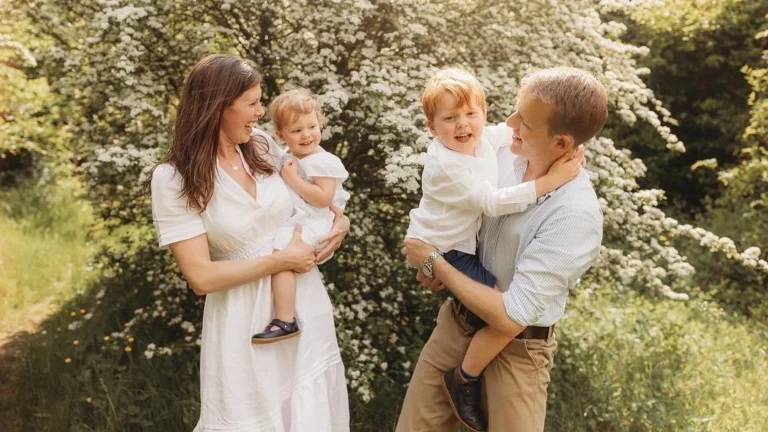
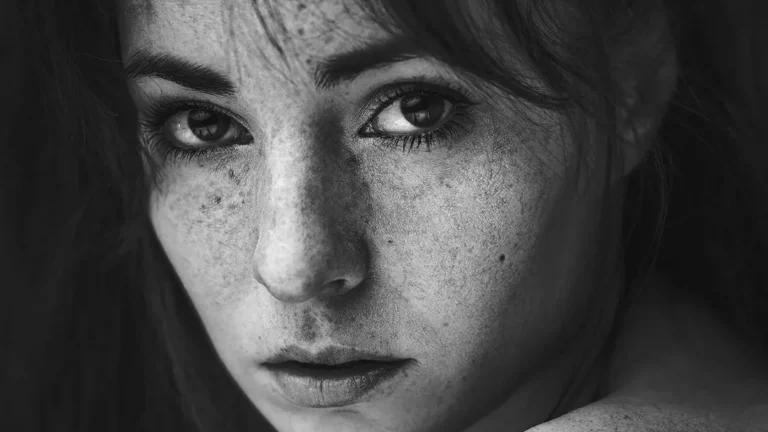
Full body portrait photography is my passion. Portrait photography is what got me into photography in the first place. At first, I started off with face-closeups, then half-portraits…and finally full body portrait photography. It’s just so beautiful what aesthetic poses and compositions you can create with a whole body. In this article, I will share my experience of over thousands of full body portraits I’ve taken!
Fundamentals of Full Body Portrait Photography
Full body portrait photography is basically just a type of portrait photography. Usually, I try to focus on several key elements that ensure my subjects are captured at their best. The mastery of camera settings, understanding the nuances of composition and framing, and the strategic use of lighting are all crucial to producing compelling images.
Mastering Camera Settings
In full body portrait photography, getting the camera settings right is probably more important than for most types of photography. You want to achieve sharp, well-exposed images. I recommend the following setting for the exposure triangle:
- Aperture:
An aperture of f/4 can nicely blur the background while keeping the subject in focus. - Shutterspeed:
Make sure it’s fast enough to freeze any movement — typically at least 1/200th of a second - ISO:
Keep it as low as possible to reduce noise, usually within the range of 100 to 400, depending on the lighting conditions
Composition and Framing Techniques
Composition is what makes a photo into art. That’s why we also dedicated a whole article to composition on portrait photography. I could write a whole book about composition here. Just make sure you know your environment.
Is it a plain studio? Then, mainly play around with different angles.
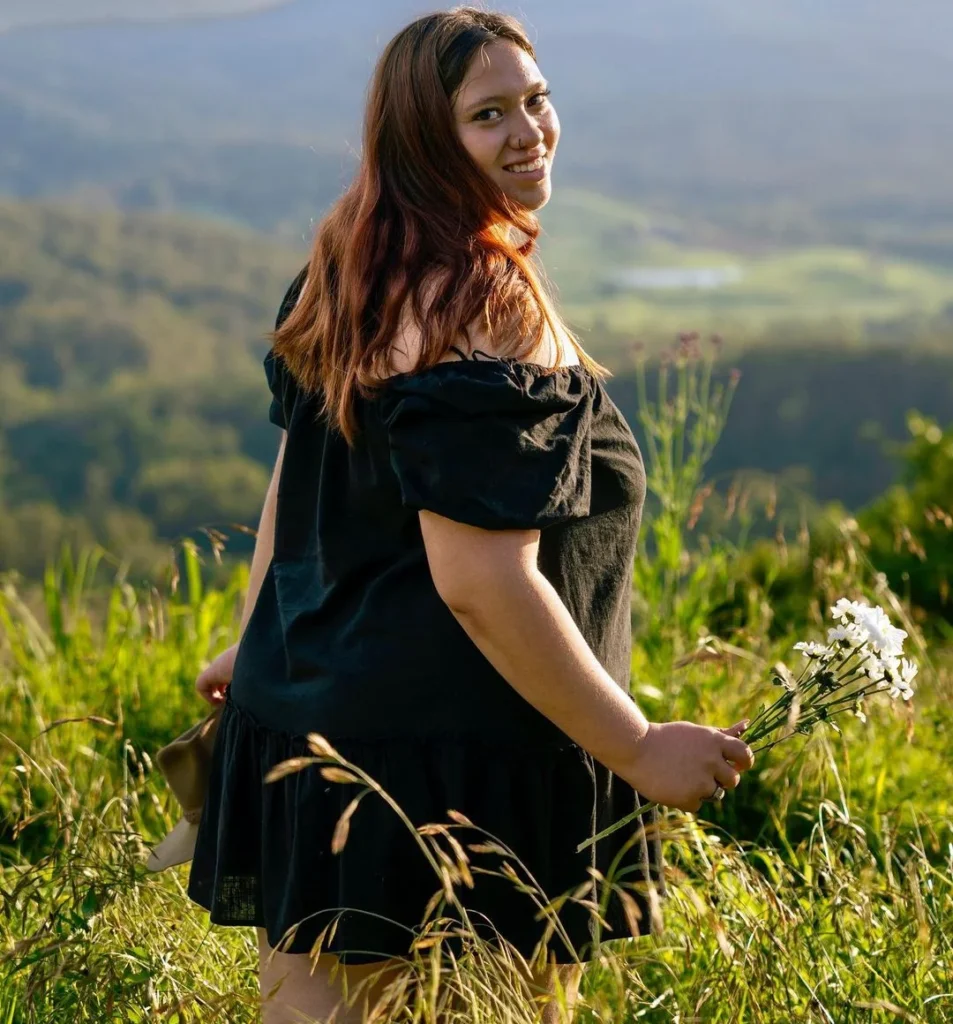
Are you shooting outdoors? Try to incorporate your subject into the environment.
Also, make sure you know the rule of thirds, as it’s one of the easiest ways to create harmonic composition. Nevertheless, getting a good understanding of composition needs a ton of practice. Find your own style!
The Role of Lighting in Portrait Photography
Lighting is perhaps the most influential aspect of full body portrait photography. It can set the mood, define the subject, and bring out its best features. In my portraits, I strive to use soft, diffused light to minimize harsh shadows that could distract from the subject. Whether I’m working outdoors with natural light or indoors with studio lighting, my goal is to achieve even exposure across the subject’s body without losing detail in the highlights or shadows.
Essential Equipment for Full Body Portraits
As we all know, equipment is a really important aspect of our art. Good cameras and lenses always make more professional-looking photos than your phone. I’m going to share with you exactly what equipment I rely on to ensure my full body shots are top-notch.
Selecting the Right Camera and Lens
When I’m planning a full body portrait session, my go-to lens is typically a 50mm lens because it offers a natural perspective similar to that of the human eye. It’s versatile — perfect for full and half-body shots without distortion. I often pair it with a camera capable of high image quality and fast autofocus. My camera settings are tweaked to account for the environment; I prefer a wider aperture for a blurred background, ensuring my subject is the focal point.
Lense Breakdown:
- 35mm or lower – Great for including some background
- around 50mm – Ideal for natural-looking shots
- 70mm or higher – Suitable for headshots or when more blur is needed
Using Lighting Equipment
Lighting can make or break a portrait. I like to use softboxes because they diffuse the light beautifully, providing a flattering illumination that wraps around my subject. Strip boxes can also be helpful, especially for creating rim light that separates the subject from the background.
Lighting Breakdown:
- Softboxes – For even, diffused light
- Strip boxes – To accentuate form and dimension
✅ Good Soft Light
✅ Cheap
✅ Complete Set
❌ May need another softbox for more lighting options
The Art of Posing and Direction
Posing in full body portrait photography is also one of the greatest arts of portrait photography. The key lies in guiding subjects to pose in a way that feels natural yet looks polished. I focus on each aspect of their body language, from the tilt of their head to the positioning of their hands.
Guiding Poses for Individuals and Groups
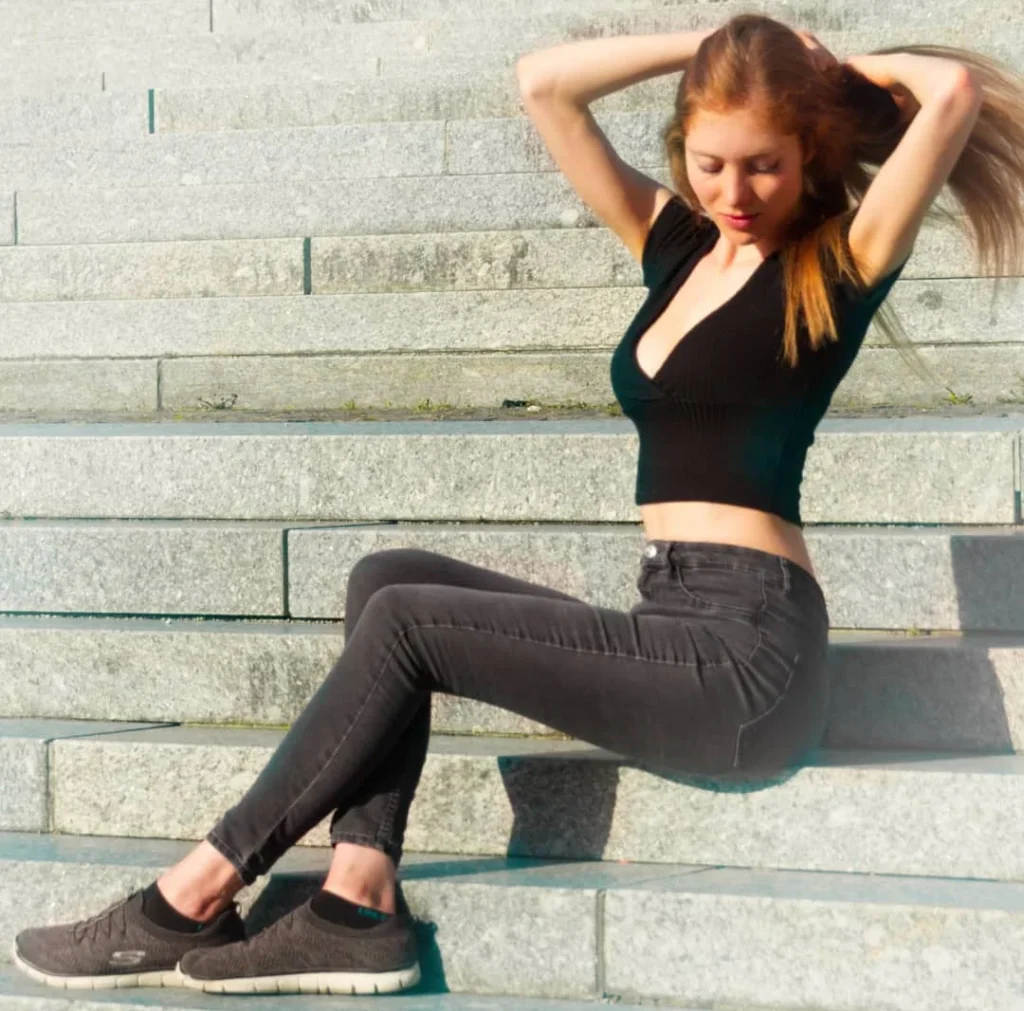
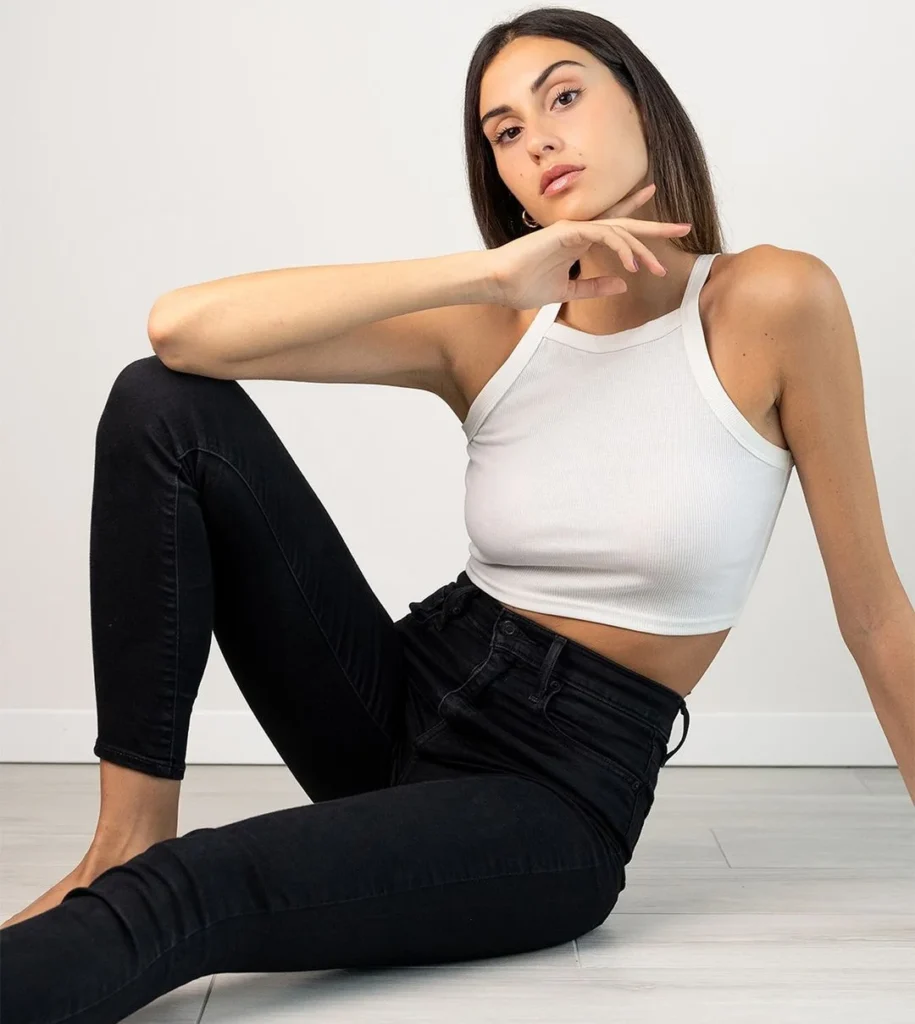
For individual portraits, I often suggest starting with a basic stance and then adjusting it to complement the subject’s features and the environment. A good starting pose is the S curve, a classic pose that creates a flowing line and suggests movement. For women, I ask them to shift their weight to one leg, pushing the hip out to accentuate the curve. For men, I might recommend a squared stance for a more commanding presence.
In group shots, harmony and interaction are my goals. I arrange everyone so their bodies slightly overlap, which creates a sense of togetherness. I pay attention to their arms and hands, ensuring that they are purposefully placed but appear relaxed.
Fine-Tuning Facial Expressions and Posture
Facial expressions convey emotion, so I take time to guide my subjects through various emotions. I ask them to think about a happy memory to elicit a genuine smile or to gaze off into the distance for a more contemplative look.
Good posture is paramount in full body portrait photography. I remind subjects to stand tall, roll their shoulders back, and elongate their necks. This makes a significant difference in how confident and comfortable they appear in the final portrait. A subtle tilt of the head can add interest, and a slight space between the arms and hands from the torso improves the photo’s composition by creating more defined lines.
Choosing the Perfect Location
When planning a full body portrait photography session, the location can really define your shooting. A studio would be the easiest choice here, as the focus lies only on the subject and has easy light to work with. But outdoors can be interesting too!
Indoor Versus Outdoor Settings
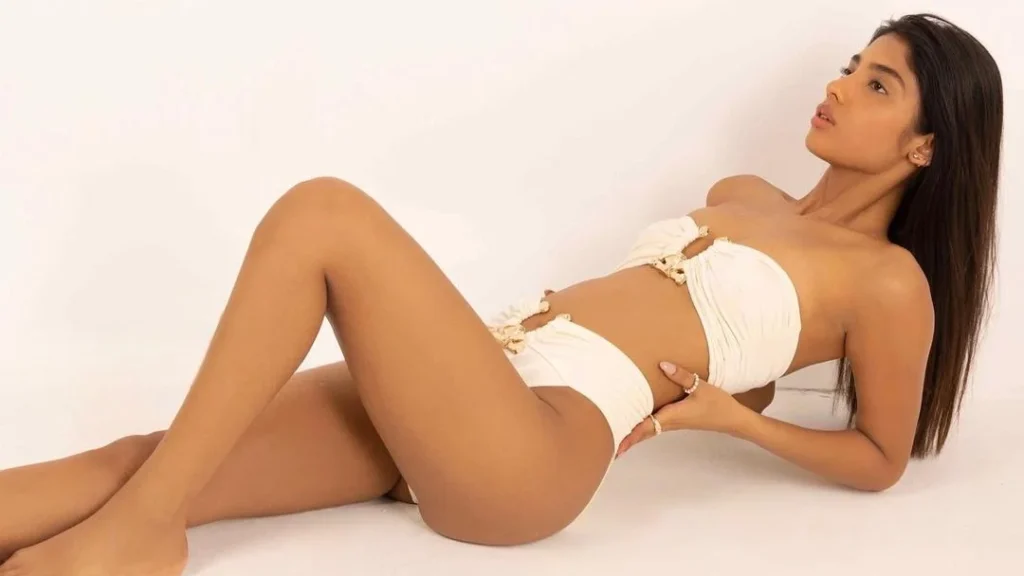
Indoor: Studios offer control over elements such as lighting and backdrops, allowing to craft the desired environment down to the smallest detail. Look for a space that can accommodate your equipment and leave ample room for the subjects to pose comfortably.
The advantage here is precision: You can dictate every aspect, from the intensity of the lighting—be it strobes or continuous lights—to the background and foreground, enhancing the subject with minimal distractions.
Outdoor: Contrarily, outdoor locations bring unpredictability that can be quite interesting. The golden hour just before sunset imbues warmth and a flattering glow, while overcast days distribute soft, even natural light. Look for some interplay between ambient light and shadow, which can add depth to an image.
Utilizing Backgrounds and Surroundings
A carefully chosen background provides context and can say as much about a subject as their expression. In a studio, I prefer to use backdrops that range from seamless paper to intricately painted canvases, offering flexibility to express different moods.
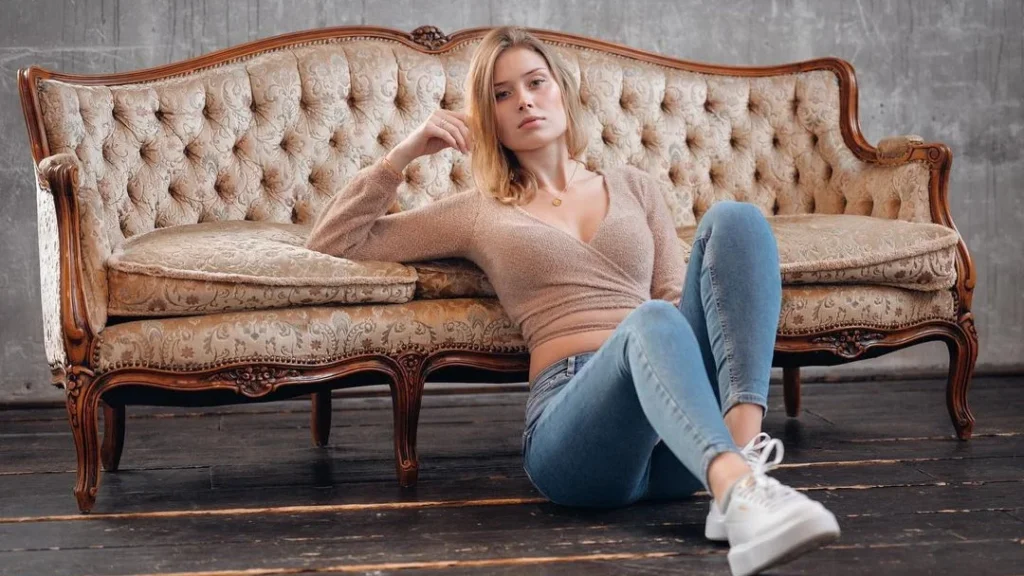
In natural settings, I hunt for surroundings that connect with my subject’s personality. Whether it’s the ruggedness of a mountainscape or the serene bokeh effect of city lights, these elements should complement but not overpower. I’m careful to consider not only the background but also the foreground elements that can frame my subject or add a sense of depth to the scene.
Choosing the right location for full body portrait photography is both an art and a strategy. Be sure you know what to expect from your location, and if in doubt – choose the studio. Trust me on this.
Post-Production and Final Touches
Once the photo shoot wraps up, we can move on to the art of post-production, where the true personality of the portraits comes to life through detail-oriented editing techniques.
Editing Techniques for Impact
In my workflow, I prioritize the use of soft light to enhance the natural contours of the subject, aiming for that polished look often seen in fashion magazines. I carefully adjust the saturation and vibrance to make the colors pop without diminishing the authenticity of the skin tones. Sharpening is applied subtly; it can make details stand out, but overdoing it can lead to an unnatural appearance. Regarding lifestyle photography, I embrace a more natural editing style, striving for warmth and emotion that resonates with the viewer.
To wrap it up:
- Soft light to enhance natural contours
- Saturation and vibrance for aesthetic colors
- Not too much sharpening
- Contrast and clarity are tweaked to add depth to the images
- Use dodge and burn techniques to highlight specific areas, creating a three-dimensional feel
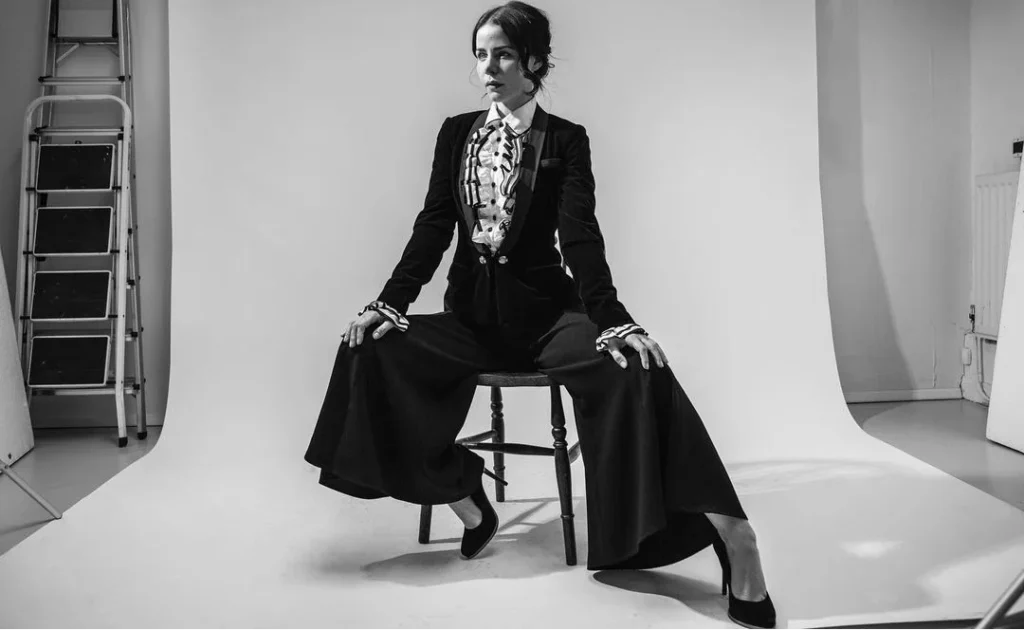
My Thoughts on Full Body Portrait Photography
As I said, full body portrait photography is probably my favorite photography niche. I love the aesthetics of human bodies captured in nice light. Also, try silhouette photography!
If you want to get into serious full body portraits, make sure you have proper and professional equipment and have a few training sessions in a studio. Just get a model – I’m sure you’ll find more than enough potential models who would love a portrait session.
I hope we can inspire you to try this type of photography! If you want to do further research on portrait photography or other aspects of photography, have a look at these articles:
Also, have a look at our Pinterest, to stay up-to-date with the latest photography trends!
Frequently Asked Questions
What are the best techniques for capturing self-portraits using a smartphone?
When using a smartphone for self-portraits, it’s essential to use a timer or a remote shutter for stability, and good lighting is crucial. Try utilizing the phone’s grid feature to align the shot, and experiment with different angles to find the most flattering perspective.
Can you provide some tips for posing males in full body portrait photography?
For posing males, having them place their hands in their pockets can create a relaxed look while slightly turning their body to the side accentuates their form. Encourage a natural posture and consider having male subjects interact with their surroundings for dynamic poses.
What are some flattering full body poses for female photography subjects?
Flattering poses for female subjects include shifting weight onto one leg to create curves and using hands to draw attention to the face. Suggest movement by having them walk toward the camera or play with their hair for a more casual and relaxed shot.
What distinguishes a half body shot from a full body portrait in photography?
A half body shot typically captures the subject from the waist up, focusing on expression and upper body language. In contrast, a full body portrait includes the entire figure, necessitating attention to the subject’s full posture and the interaction with the environment.
What are the key elements to include when taking a full body photograph for a job application?
For job application photos, ensure the subject is well-groomed and professionally dressed. Keep the background simple and the focus on the subject, with their body slightly angled to show approachability and confidence.
Which lenses do photographers recommend for taking high-quality full body portraits?
Photographers often recommend lenses with sharpness and a pleasing perspective, such as a 50mm or 85mm prime lens. If shooting in a confined space, a wider lens like a 35mm might be necessary, but avoid distortion by keeping the subject centrally framed.

